
API Blueprint Authentication Schemes: OAuth, API Keys, and Bearer Tokens
API Blueprint authentication schemes are documented by combining an ## Auth header group, HTTP header definitions inside + Request blocks, and freeform Markdown explanations of each credential type. In Apidoke, those descriptions render immediately in the live preview pane and power the try-it console so readers can attach real credentials and fire authenticated requests without leaving the docs.
- API Blueprint has no built-in authentication object, so you document schemes through
+ Requestheader lines, named resource groups, and descriptive prose. - Bearer tokens (OAuth 2.0 and generic JWT) go in an
Authorization: Bearer <token>header; API keys go in a custom header or query parameter defined per-resource. - Apidoke's try-it console keeps credentials in the browser; they never transit Apidoke servers, which matters for teams using production tokens in development.
- Consistent placement of auth documentation inside a dedicated
# Group Authenticationsection keeps your blueprint scannable and your pillar cluster coherent.
Why API Blueprint handles authentication differently from OpenAPI
OpenAPI 3.x has a first-class securitySchemes object that sits at the document root and attaches to individual operations via a security key. API Blueprint, as defined by the API Blueprint specification, takes a more freeform approach: the format gives you groups, resources, actions, request/response pairs, and Markdown prose. There is no dedicated authentication declaration block.
That is not a weakness. It means your authentication documentation is readable plain text, not machine-enforced schema. You can describe nuanced flows, edge cases, and token-refresh logic in the same file as your endpoints, without wrestling with JSON Schema keywords. The trade-off is that you must be disciplined about structure: if you scatter auth notes across every endpoint, readers have to hunt for them. The patterns in this guide prevent that.
For a broader look at where API Blueprint sits among description formats, see the API Blueprint and Formats pillar, which covers the format landscape end to end.
Core API Blueprint building blocks used for authentication
Before writing any auth-specific syntax, it helps to name the three building blocks you will use throughout:
- Resource group (
# Group Name): A top-level heading that clusters related resources in the navigation sidebar. - Request block (
+ Request): Describes one HTTP request variant for an action, including its headers and optional body. - Headers section (
+ Headers): A nested list inside a Request block that defines header name/value pairs sent with that request.
Authentication lives primarily in headers. All three HTTP auth schemes covered here (Bearer, API key in a header, and API key in a query string) map neatly to these blocks.
Documenting Bearer token authentication (OAuth 2.0 and JWT)
Bearer token authentication, standardized in RFC 6750, is the most common scheme for OAuth 2.0-protected REST APIs. The client obtains an access token (often a JSON Web Token, or JWT) and sends it in the Authorization header with the Bearer prefix on every protected request.
Step 1: Create a dedicated authentication group
Open your .apib file and add a group before your first protected resource group. This section explains the scheme to human readers and gives Apidoke's navigation a named entry.
FORMAT: 1A
HOST: https://api.example.com

# My API

# Group Authentication

This API uses OAuth 2.0 Bearer tokens. Obtain a token from the
`POST /oauth/token` endpoint (see below) and include it in every
subsequent request using the `Authorization` header.

Tokens expire after 3600 seconds. Refresh using the refresh token
returned alongside the access token.
Step 2: Document the token endpoint as a real action
Do not just describe the token endpoint in prose. Model it as an API Blueprint resource and action so the try-it console can exercise it.
## Token [/oauth/token]

### Obtain an Access Token [POST]

Exchange client credentials or a user authorization code for an
access token. The response body contains the token, its type,
expiry in seconds, and a refresh token.

+ Request (application/x-www-form-urlencoded)

    + Headers

            Content-Type: application/x-www-form-urlencoded

    + Body

            grant_type=client_credentials&client_id=abc123&client_secret=s3cr3t

+ Response 200 (application/json)

    + Body

            {
              "access_token": "eyJhbGciOiJSUzI1NiIsInR5cCI6IkpXVCJ9...",
              "token_type": "Bearer",
              "expires_in": 3600,
              "refresh_token": "dGhpcyBpcyBhIHJlZnJlc2ggdG9rZW4"
            }

+ Response 401 (application/json)

    + Body

            {
              "error": "invalid_client",
              "error_description": "Client authentication failed."
            }
Step 3: Show the Bearer header on every protected action
For each protected resource action, add a named + Request block that includes the Authorization header. Name the request variant so readers can distinguish authenticated from unauthenticated examples.
## Articles Collection [/articles]

### List Articles [GET]

Returns a paginated list of published articles. Requires a valid
Bearer token.

+ Request Authenticated (application/json)

    + Headers

            Authorization: Bearer eyJhbGciOiJSUzI1NiIsInR5cCI6IkpXVCJ9...
            Accept: application/json

+ Response 200 (application/json)

    + Body

            {
              "data": [
                { "id": 1, "title": "Hello World", "published": true }
              ],
              "total": 1
            }

+ Response 401 (application/json)

    + Body

            {
              "error": "unauthorized",
              "message": "Bearer token is missing or expired."
            }

+ Response 403 (application/json)

    + Body

            {
              "error": "forbidden",
              "message": "Your token does not have the required scope."
            }
Documenting 401 and 403 separately is important. A 401 (Unauthorized) means no valid credential was presented; a 403 (Forbidden) means the credential is valid but lacks permission for the requested resource. Many API docs conflate these, which frustrates developers debugging scope issues. Keep them distinct.
Documenting API key authentication
API keys are opaque strings issued to a client application. They typically authenticate the application (not a user), so they do not carry identity claims the way JWTs do. Two delivery mechanisms are common: a custom request header, and a query string parameter.
API key in a request header
Header delivery is the preferred approach for most production APIs. It keeps credentials out of server logs and browser history. Common header names include X-API-Key, X-Api-Key, and Api-Key. Document yours consistently.
# Group Authentication

This API authenticates application clients with an API key passed
in the `X-API-Key` request header. Request a key from your account
dashboard. Keys do not expire but can be revoked at any time.

## Protected Resource [/data/metrics]

### Get Metrics [GET]

+ Request With API Key

    + Headers

            X-API-Key: pk_live_4f8a2c91b3d7e056af120934
            Accept: application/json

+ Response 200 (application/json)

    + Body

            {
              "requests_today": 4821,
              "errors_today": 3
            }

+ Response 403 (application/json)

    + Body

            {
              "error": "invalid_api_key",
              "message": "The API key provided is not recognized or has been revoked."
            }
API key as a query parameter
Some APIs (particularly map tile services and analytics feeds) deliver the key as a query parameter because clients are URLs embedded in frontend markup. The pattern is similar but lives in the URI template rather than the header block.
## Map Tiles [/tiles{?api_key,z,x,y}]

### Fetch Tile [GET]

Returns a PNG map tile. The `api_key` query parameter is required.

+ Parameters

    + api_key: `pk_live_4f8a2c91b3d7e056af120934` (string, required)
      Your API key. Obtain one from the developer dashboard.
    + z: `12` (number, required) - Zoom level (0 to 20).
    + x: `1023` (number, required) - Tile column.
    + y: `745` (number, required) - Tile row.

+ Response 200 (image/png)

+ Response 401 (application/json)

    + Body

            {
              "error": "missing_api_key",
              "message": "Requests to this endpoint require the api_key query parameter."
            }
Notice the URI template syntax: {?api_key,z,x,y} declares all four as optional query parameters in the Level 1 URI template syntax used by API Blueprint. Making api_key explicitly required in the + Parameters block overrides the template-level optionality in the rendered documentation.
Documenting multiple authentication schemes on the same endpoint
Some endpoints accept either a Bearer token or an API key, for instance when you support both user-facing OAuth apps and server-to-server machine clients. API Blueprint handles this cleanly because you can attach multiple named + Request blocks to a single action.
### Get Account [GET]

Returns the authenticated account record. Accepts either a Bearer
token (OAuth 2.0) or an API key in the `X-API-Key` header.

+ Request Bearer Token

    + Headers

            Authorization: Bearer eyJhbGciOiJSUzI1NiIsInR5cCI6IkpXVCJ9...

+ Request API Key

    + Headers

            X-API-Key: pk_live_4f8a2c91b3d7e056af120934

+ Response 200 (application/json)

    + Body

            {
              "id": "usr_88b2f1",
              "email": "dev@example.com",
              "plan": "pro"
            }

+ Response 401 (application/json)

    + Body

            {
              "error": "unauthorized",
              "message": "Provide a valid Bearer token or API key."
            }
Apidoke renders each named request variant as a selectable tab in the three-column viewer, so readers can switch between the Bearer and API key examples without leaving the page.
Structuring your full authentication group: a complete template
The pattern below is a copy-paste starting point for any API Blueprint file that needs formal authentication documentation. Adapt the scheme details to your API.
FORMAT: 1A
HOST: https://api.example.com

# Example API

# Group Authentication

All endpoints except `GET /status` require authentication.
Two schemes are supported:

| Scheme       | Header or Parameter        | When to use                        |
|--------------|----------------------------|------------------------------------|
| Bearer token | `Authorization: Bearer ...`| User-scoped OAuth 2.0 access       |
| API key      | `X-API-Key: ...`           | Server-to-server machine clients   |

## Token [/auth/token]

### Exchange Credentials for Token [POST]

+ Request (application/json)

    + Body

            {
              "client_id": "your_client_id",
              "client_secret": "your_client_secret",
              "grant_type": "client_credentials"
            }

+ Response 200 (application/json)

    + Body

            {
              "access_token": "eyJ...",
              "token_type": "Bearer",
              "expires_in": 3600
            }

+ Response 401 (application/json)

    + Body

            {
              "error": "invalid_client"
            }
How the try-it console interacts with your auth documentation
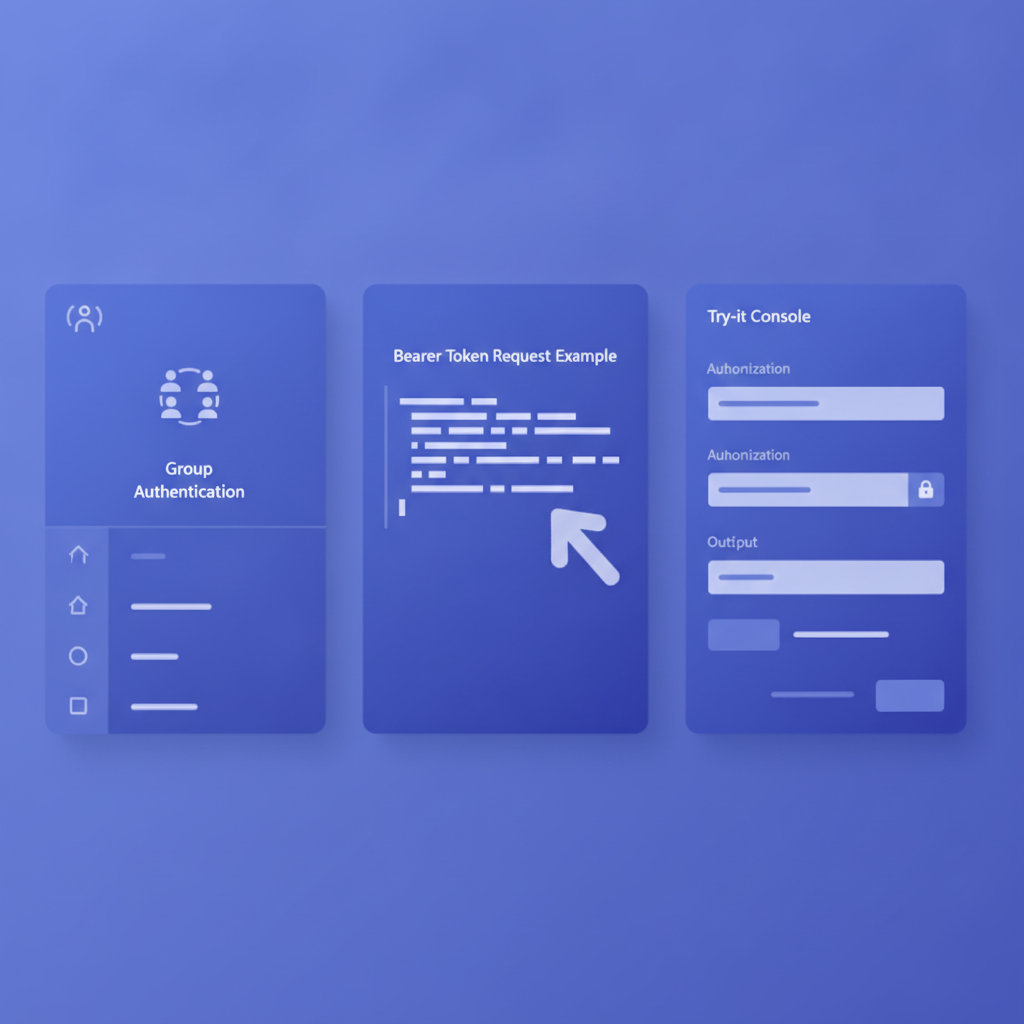
When Apidoke renders a + Headers block that includes Authorization or X-API-Key, those header names appear pre-filled in the try-it console on the right column. Readers type their real credentials into those fields. The HTTP request fires directly from the browser to your API server; no credential data passes through Apidoke's servers at any point. That client-side architecture is the reason you can safely test against production endpoints during development.
If you want to explore what the console looks like in practice, the try-it console deep dive walks through the full request lifecycle from the browser's perspective.
One practical tip: use a realistic but obviously fake token value in your blueprint's example, such as eyJhbGciOiJSUzI1NiIsInR5cCI6IkpXVCJ9... with an ellipsis. Readers understand it is a placeholder. Using a real token even a test one is a security risk if the file is committed to a public repository.
Common mistakes and how to avoid them
| Mistake | What goes wrong | Fix |
|---|---|---|
Describing auth only in prose, not in a + Headers block | The try-it console has no header field to pre-fill; readers must know to add it manually | Always add a + Request block with a + Headers section, even if the body is empty |
Using the same + Request name for every action | Named request variants collide in rendered output; tabs may show duplicate labels | Name each variant descriptively: "Request Bearer Token", "Request API Key", etc. |
| Documenting only 200 responses on protected endpoints | Developers do not know what a failed auth attempt looks like; debugging takes longer | Always include 401 and 403 response blocks with example bodies |
| Mixing auth details across every endpoint without a central group | Readers cannot find the scheme overview; AI summaries pull fragmented context | Create a # Group Authentication section at the top of the file |
| Putting a real secret in the example header value | Secret leaks into version control if the file is committed | Use a clearly fake placeholder value with trailing ellipsis or a note like YOUR_TOKEN_HERE |
Versioning your authentication documentation in Apidoke
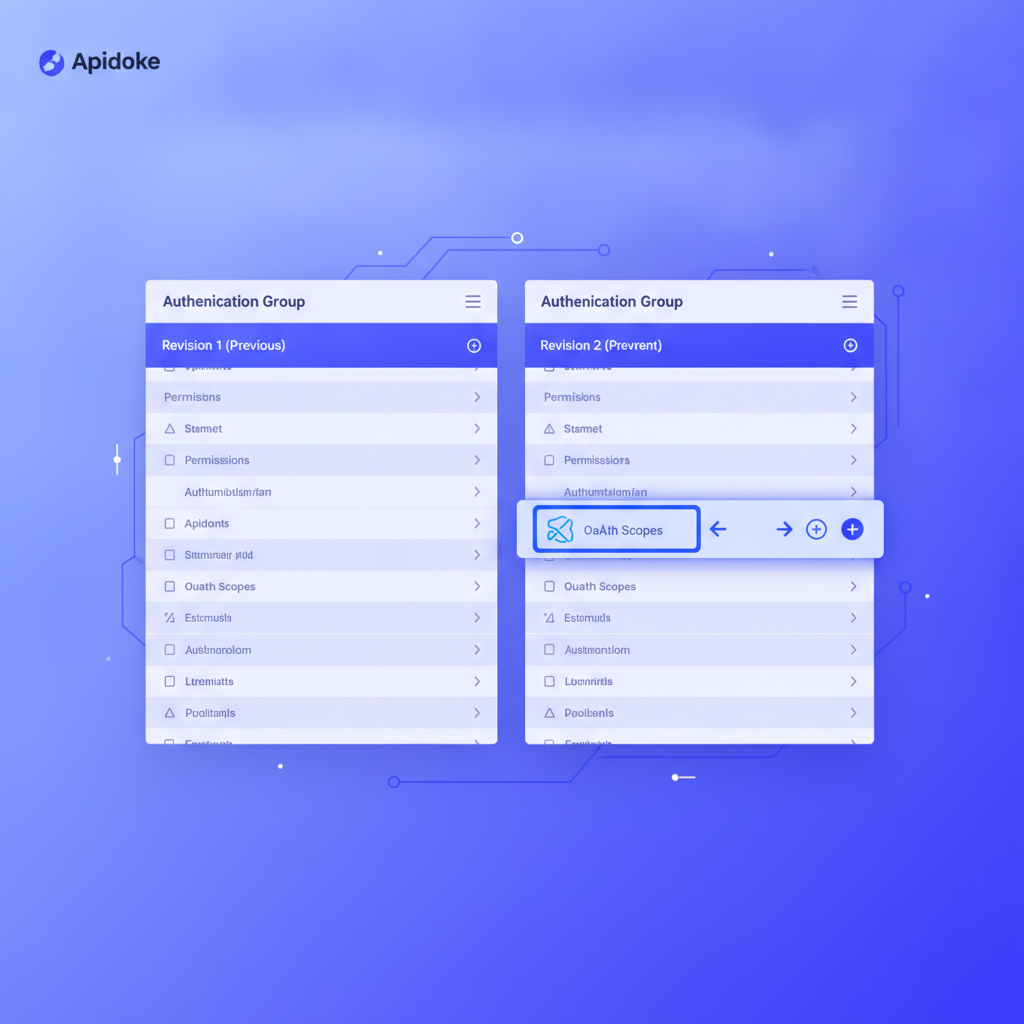
Authentication schemes change. An API might graduate from API key auth to OAuth 2.0, or add a new scope requirement to an existing Bearer token flow. Apidoke's per-project version history means each save of your .apib file is stored as a discrete revision. You can compare the authentication group across versions to see exactly when a scope was added or a header name changed, without relying on Git annotations or external changelogs.
Pair that with a structured API changelog and your developers have both the historical diff (from version history) and the human-readable summary (from the changelog) in one place.
Frequently asked questions
Does API Blueprint support a native securitySchemes block like OpenAPI?
No. The API Blueprint specification does not define a dedicated authentication or security object. You document auth schemes using standard Markdown prose in a named group, combined with + Headers blocks inside each + Request. This keeps the format readable as plain text but means auth is documented by convention rather than enforced by the parser.
How do I document OAuth 2.0 scopes in API Blueprint?
List the required scopes in the prose description of the action, and include them in the 403 response body to show what error a client receives when the token lacks a needed scope. There is no formal scope field in the format, so clear Markdown prose in the action description is the right approach.
Can Apidoke's try-it console send a real Bearer token to my API?
Yes. When a + Headers block includes Authorization, the console renders a matching input field. You type your token, click Send, and the browser fires the request directly to your API host. The credential stays in the browser and does not pass through Apidoke's servers.
What is the difference between a 401 and a 403 response, and should I document both?
A 401 (Unauthorized, defined in RFC 9110) means the request lacks valid authentication credentials. A 403 (Forbidden) means the credentials are valid but the client is not permitted to access the resource, often because of a missing OAuth scope or insufficient role. You should document both with distinct example bodies so developers can diagnose failures quickly.
Should API key query parameters go in the URI template or in a separate Parameters block?
Both, used together. Declare the parameter name in the URI template using Level 1 query expansion syntax, for example /endpoint{?api_key}, then add a + Parameters block that sets the type, required status, and a description. The template drives the navigation URL; the Parameters block drives the rendered documentation and the try-it console input field.
Ready to put these patterns into practice? Create a free Apidoke account and paste your first authenticated API Blueprint into the editor. The live preview and try-it console are available immediately, with no credit card required.