
API Documentation Templates: Ready-to-Use API Blueprint Examples
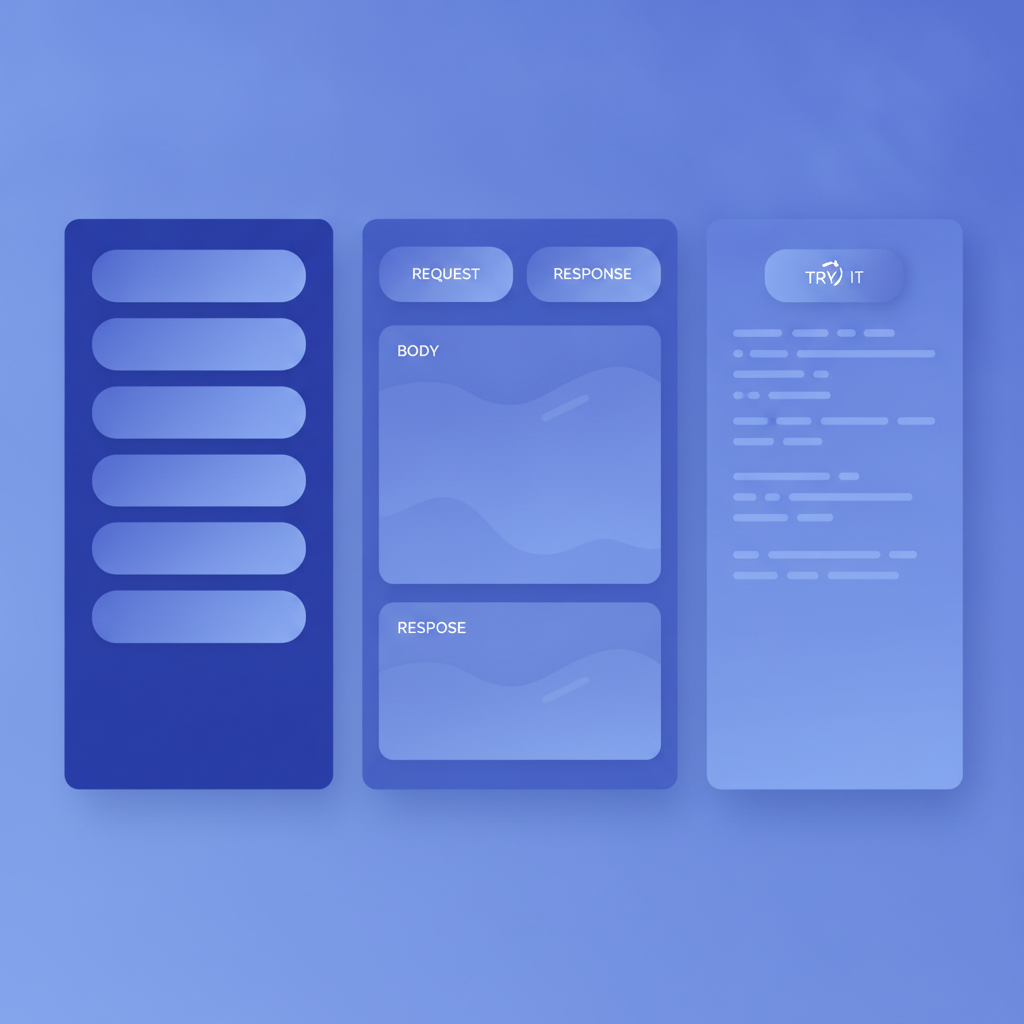
An api documentation template is a pre-written, structurally complete skeleton that covers a specific API pattern so you can fill in your own endpoints, fields, and responses instead of writing boilerplate from scratch. The templates below are written in API Blueprint format and are ready to paste into Apidoke, which renders them instantly as a three-column interactive reference with a live try-it console.
- Each template targets one common pattern: CRUD resources, token authentication, and paginated collections.
- Every example includes real HTTP methods, status codes, request and response bodies, and inline annotations explaining the syntax choices.
- You can paste any template directly into the Apidoke split-pane editor and see a live preview before publishing.
- All templates follow the official API Blueprint specification, so the same source file works with any compliant renderer.
Why start from a template instead of a blank file?
Starting from a blank .apib file introduces two practical problems. First, you spend cognitive energy on structure before you have written a single endpoint. Second, inconsistency creeps in across resources: one engineer documents 400 Bad Request with a body, another leaves it empty, and the published docs confuse every consumer. A template enforces a consistent skeleton so the only decisions left are the ones specific to your API.
API Blueprint uses a Markdown-derived syntax where headings define hierarchy. A # Group heading creates a navigation section, a ## Resource heading defines a URL, and an ### Action heading maps to an HTTP method. Understanding that three-level hierarchy is enough to read and adapt every template below. For a deeper reference on the syntax itself, the API Blueprint syntax cheat sheet covers every keyword with examples.
Template 1: CRUD resource (Articles)
CRUD stands for Create, Read, Update, Delete. It maps directly to POST, GET, PUT or PATCH, and DELETE. This template documents a single /articles resource with a collection endpoint and a member endpoint. Copy the entire block, replace "Article" with your own resource name, and adjust the attributes.
FORMAT: 1A
HOST: https://api.example.com

# Articles API

A simple REST API for managing articles.

# Group Articles

## Articles Collection [/articles]

### List All Articles [GET]

Returns an array of all articles. Responds with 200 OK on success.

+ Response 200 (application/json)

        [
          {
            "id": 1,
            "title": "Getting Started with API Blueprint",
            "status": "published",
            "created_at": "2026-03-15T09:00:00Z"
          },
          {
            "id": 2,
            "title": "Documenting Pagination Patterns",
            "status": "draft",
            "created_at": "2026-04-02T14:30:00Z"
          }
        ]

### Create an Article [POST]

Creates a new article. The title field is required.
Returns 201 Created with the new resource on success,
or 422 Unprocessable Entity if validation fails.

+ Request (application/json)

        {
          "title": "My New Article",
          "body": "Article content goes here.",
          "status": "draft"
        }

+ Response 201 (application/json)

        {
          "id": 3,
          "title": "My New Article",
          "body": "Article content goes here.",
          "status": "draft",
          "created_at": "2026-09-01T08:00:00Z"
        }

+ Response 422 (application/json)

        {
          "error": "validation_failed",
          "message": "The title field is required.",
          "field": "title"
        }

## Article [/articles/{id}]

+ Parameters
    + id (number, required) - The numeric ID of the article.

### Get an Article [GET]

Returns a single article by ID.
Responds with 200 OK on success or 404 Not Found if the ID does not exist.

+ Response 200 (application/json)

        {
          "id": 1,
          "title": "Getting Started with API Blueprint",
          "body": "Full article body here.",
          "status": "published",
          "created_at": "2026-03-15T09:00:00Z"
        }

+ Response 404 (application/json)

        {
          "error": "not_found",
          "message": "No article with id 999 exists."
        }

### Update an Article [PUT]

Replaces the full article resource. All writable fields must be included.
Returns 200 OK on success.

+ Request (application/json)

        {
          "title": "Updated Title",
          "body": "Updated body content.",
          "status": "published"
        }

+ Response 200 (application/json)

        {
          "id": 1,
          "title": "Updated Title",
          "body": "Updated body content.",
          "status": "published",
          "created_at": "2026-03-15T09:00:00Z"
        }

### Delete an Article [DELETE]

Permanently removes the article. Returns 204 No Content on success.

+ Response 204
Key design decisions in this template
- The
FORMAT: 1AandHOST:directives at the top are required by the spec. Apidoke reads the HOST value to pre-fill the base URL in the try-it console. - The collection (
/articles) and member (/articles/{id}) are separate API Blueprint resources. This keeps each URL action list short and readable. - Three error responses are modeled:
404for a missing resource,422for a validation failure, and an implicit success path for each method. Documenting error shapes matters just as much as documenting success shapes; consumers need to know what a422body looks like to surface the right message in a UI.
Template 2: Token authentication
Authentication is one of the most-searched documentation topics because every API implements it slightly differently. This template covers the two most common flows: posting credentials to receive a bearer token (sometimes called login or token exchange), and then including that token in a subsequent authenticated request.
FORMAT: 1A
HOST: https://api.example.com

# Auth API

All protected endpoints require an Authorization: Bearer {token} header.
Tokens expire after 3600 seconds.

# Group Authentication

## Token [/auth/token]

### Request a Token [POST]

Exchange a username and password for a short-lived bearer token.
Returns 200 OK with the token, or 401 Unauthorized if credentials are wrong.

+ Request (application/json)

        {
          "username": "ada@example.com",
          "password": "correct-horse-battery-staple"
        }

+ Response 200 (application/json)

        {
          "access_token": "eyJhbGciOiJIUzI1NiIsInR5cCI6IkpXVCJ9...",
          "token_type": "Bearer",
          "expires_in": 3600
        }

+ Response 401 (application/json)

        {
          "error": "invalid_credentials",
          "message": "The username or password is incorrect."
        }

## Token Revocation [/auth/token/revoke]

### Revoke a Token [DELETE]

Invalidates the current bearer token immediately.
The Authorization header carrying the token to be revoked is required.
Returns 204 No Content on success.

+ Request

    + Headers

            Authorization: Bearer eyJhbGciOiJIUzI1NiIsInR5cCI6IkpXVCJ9...

+ Response 204

+ Response 401 (application/json)

        {
          "error": "unauthorized",
          "message": "A valid Bearer token is required."
        }

# Group Protected Resources

## Current User [/me]

### Get Current User [GET]

Returns the profile of the authenticated user.
Requires a valid Authorization: Bearer token.
Returns 401 Unauthorized if the token is missing or expired.

+ Request

    + Headers

            Authorization: Bearer eyJhbGciOiJIUzI1NiIsInR5cCI6IkpXVCJ9...

+ Response 200 (application/json)

        {
          "id": 42,
          "username": "ada@example.com",
          "role": "admin",
          "created_at": "2025-11-01T10:00:00Z"
        }

+ Response 401 (application/json)

        {
          "error": "token_expired",
          "message": "Your access token has expired. Request a new one at /auth/token."
        }
Notes on this template
- The
+ Headersblock inside a+ Requestsection lets you document required headers explicitly. Apidoke's try-it console pre-fills the Authorization field, but the token itself stays in the browser and is never sent to Apidoke's servers. - Two separate groups (Authentication and Protected Resources) keep the navigation clean. Consumers find the login endpoint without scrolling past every protected route.
- The
401error body includes amessagethat points to the recovery path. Per RFC 9110, a 401 response should include a WWW-Authenticate header in practice; you can add a+ Headersblock to the response to document that.
Template 3: Paginated collection
Pagination is where many documentation templates fall short. They document a GET /items endpoint but omit the query parameters, the response envelope, and what happens when a page number is out of range. This template covers cursor-free offset pagination, which is the most widely used pattern.
FORMAT: 1A
HOST: https://api.example.com

# Paginated Products API

# Group Products

## Products Collection [/products{?page,per_page,sort}]

+ Parameters
    + page (number, optional) - Page number, starting at 1. Default: 1.
    + per_page (number, optional) - Items per page. Max: 100. Default: 20.
    + sort (string, optional) - Sort order. Allowed values: created_at_asc, created_at_desc, name_asc. Default: created_at_desc.

### List Products [GET]

Returns a paginated list of products.
The response envelope includes meta with pagination state and a links object
so clients can navigate pages without constructing URLs manually.

+ Response 200 (application/json)

        {
          "data": [
            {
              "id": 101,
              "name": "Widget Pro",
              "price_cents": 4999,
              "in_stock": true
            },
            {
              "id": 102,
              "name": "Widget Lite",
              "price_cents": 1999,
              "in_stock": false
            }
          ],
          "meta": {
            "current_page": 1,
            "per_page": 20,
            "total_pages": 14,
            "total_count": 278
          },
          "links": {
            "self": "/products?page=1&per_page=20",
            "next": "/products?page=2&per_page=20",
            "prev": null,
            "last": "/products?page=14&per_page=20"
          }
        }

+ Response 400 (application/json)

        {
          "error": "invalid_parameter",
          "message": "per_page must not exceed 100.",
          "field": "per_page"
        }

+ Response 404 (application/json)

        {
          "error": "page_out_of_range",
          "message": "Page 99 does not exist. The last page is 14."
        }
What the pagination template teaches
The URI template syntax [/products{?page,per_page,sort}] declares all three query parameters at the resource level. Apidoke's try-it console reads these declarations and renders them as labeled input fields, so testers never need to edit the URL bar manually.
The links envelope is intentional: consumers should follow links.next rather than incrementing page numbers themselves. Documenting the null case for prev on the first page prevents a common bug where clients crash when a field is absent.
How to adapt these templates in Apidoke
- Create a free Apidoke account at the registration page and start a new project.
- In the split-pane editor, clear the default scaffold and paste one of the templates above.
- Replace
HOST: https://api.example.comwith your actual base URL. - Rename the
# Group, resource, and action headings to match your own resources. - Update the JSON bodies in each
+ Responseblock to reflect your actual field names and types. - Watch the live preview panel update as you type.
- Click Publish to generate a public URL for your interactive docs. The try-it console is active immediately.
The whole process typically takes under twenty minutes for a three-resource API. For a fuller walkthrough, the getting started guide for publishing your first interactive API doc covers each step with screenshots.
Comparison of the three template patterns
| Pattern | Primary HTTP methods | Key status codes | Main documentation concern |
|---|---|---|---|
| CRUD resource | GET, POST, PUT, DELETE | 200, 201, 204, 404, 422 | Consistent error shapes across all four operations |
| Token authentication | POST, DELETE | 200, 204, 401 | Token lifecycle, header format, and expiry messaging |
| Paginated collection | GET | 200, 400, 404 | Query parameter constraints, envelope shape, and link navigation |
Combining templates into a single document
You do not have to pick one. API Blueprint files are plain text, so you can concatenate templates. Put the FORMAT: 1A and HOST: directives once at the top, then add each # Group section below in any order. Apidoke reads the combined file and builds navigation from every Group heading it finds.
A typical small API ends up with three or four groups: Authentication, Users, a core resource like Articles or Products, and an administrative group. The three-column viewer in Apidoke keeps each group collapsed in the left navigation panel until the reader clicks it, so a 600-line .apib file still feels approachable on first load.
Common mistakes when adapting API documentation templates
Indentation matters in API Blueprint. Request and response bodies must be indented with exactly eight spaces (two levels of four-space indentation) relative to the + Request or + Response keyword. A body indented by only four spaces is treated as a continuation of the action text, not as a code block, and the parser silently drops it. If your try-it console shows no body, check indentation first.
Second, avoid documenting only the happy path. Real consumer questions are almost always about errors: what does a 401 look like, and what field name identifies which input was invalid? Every template above includes at least one error response with a structured body for exactly that reason. The API Blueprint and formats hub has more on how blueprint structure maps to rendered output and why complete error coverage matters for adoption.
Third, keep the HOST URL accurate. The Apidoke try-it console fires real HTTP requests to the HOST you specify. If it points to a staging environment during development, change it before publishing to production readers.
Frequently asked questions
What format do API documentation templates use in Apidoke?
Apidoke uses API Blueprint, a Markdown-based format. Your template file has a .apib extension and begins with FORMAT: 1A. No YAML or JSON schema knowledge is required to get started.
Can I use these templates for a private internal API?
Yes. Apidoke lets you publish docs so only people with the link can access them, making these templates just as useful for internal services as for public-facing APIs. The self-hosting option gives you full control over access at the network level.
Do I need to write a separate template for PATCH vs PUT?
Not necessarily, but it helps. PUT replaces the entire resource and typically requires all writable fields; PATCH applies a partial update and only needs the changed fields. If your API supports both, add a ### Partial Update [PATCH] action under the same resource heading with a body that shows only a subset of fields.
How do I document authentication in the try-it console?
Declare the Authorization header inside a + Request + Headers block as shown in Template 2. Apidoke's try-it console renders a header input field so testers can paste their own token. The token is sent directly from the browser to your API and never passes through Apidoke's servers.
Can I version my API Blueprint templates over time?
Yes. Apidoke stores per-project version history, so every time you publish a revised .apib file the previous version is saved. You can review revisions and roll back if a change introduces an error in the published docs.
Ready to turn one of these templates into live, interactive API docs? Create a free Apidoke account and paste your first template into the editor in under a minute.
Related reading: Documenting Webhooks in API Blueprint