
How to Write API Docs for a Command-Line Interface (CLI)

CLI API documentation is the structured reference content that describes every subcommand, flag, argument, environment variable, and exit code a command-line tool exposes. Unlike REST endpoint docs, where the surface is a URL and an HTTP method, CLI docs are organized around a command tree, and Apidoke gives you a straightforward way to author, version, and publish that content as a clean, browsable reference site without managing any additional toolchain.
- CLI docs must cover four distinct surfaces REST docs largely ignore: the command hierarchy, short and long flags, environment variable overrides, and numeric exit codes.
- A clear command tree is the backbone of good CLI API documentation; readers should be able to find any subcommand in two navigational moves or fewer.
- Exit codes are first-class API contracts. Treat code
0(success),1(general error), and tool-specific codes the same way you treat HTTP 200, 400, and 404. - Apidoke's per-project version history and one-click public publishing make it practical to keep CLI docs in sync with each release, without a custom build pipeline.
Why CLI documentation is its own discipline
REST API documentation centers on resources, the HTTP methods that act on them (GET, POST, PUT, DELETE, PATCH), request bodies, query parameters, and status codes such as 200, 401, or 404. A developer consults it to build an integration. CLI documentation is consulted at a terminal prompt, often under time pressure, by someone who already has the tool installed and just needs to know which flag to pass. The mental model is different, the information hierarchy is different, and the failure modes are different.
The most common mistake teams make is writing CLI docs as a flat list of commands, with one entry per subcommand and no grouping by workflow. The result is a page that is hard to scan and impossible to navigate programmatically. A well-structured CLI reference treats the command tree as a hierarchy, mirrors it in the navigation, and documents each node consistently.
Anatomy of a CLI: the terms you need to know
Before writing a single line of documentation, it helps to agree on vocabulary. The terms below are used consistently throughout this guide and should appear consistently in your docs too.
| Term | Definition | Example |
|---|---|---|
| Root command | The binary name, the top-level entry point | myctl |
| Subcommand | A named action nested under the root or another subcommand | myctl deploy |
| Flag (option) | A named parameter prefixed with - (short) or -- (long) | -v, --verbose |
| Argument (positional) | An unnamed value whose position determines its meaning | myctl deploy <environment> |
| Environment variable | A shell variable that configures behavior without a flag | MYCTL_TOKEN |
| Exit code | The integer a process returns to the shell on completion | 0 success, 1 error |
| Subcommand group | A logical cluster of related subcommands sharing a namespace prefix | myctl project create, myctl project delete |
Mapping the command tree before you write
Run the tool with --help at every level and record the output. Most CLI frameworks (Cobra for Go, Click for Python, oclif for Node.js) generate help text automatically, and that text is your source of truth for the first draft. Map it into a tree:
myctl
├── auth
│   ├── login
│   └── logout
├── project
│   ├── create
│   ├── list
│   └── delete
└── deploy
    ├── start
    └── rollback
Each node in that tree becomes a section in your documentation. In Apidoke, you use API Blueprint's # Group directive to mirror this hierarchy in the left-hand navigation, so readers can find any subcommand without scrolling through a wall of text. The API documentation site structure guide covers information architecture in more depth if you are documenting many commands across several groups.
How to structure each subcommand entry
Consistency is the single most important quality in a CLI reference. Every subcommand entry should follow the same template. Readers build a mental model of the structure after reading two or three entries, and any deviation breaks that model and slows them down.
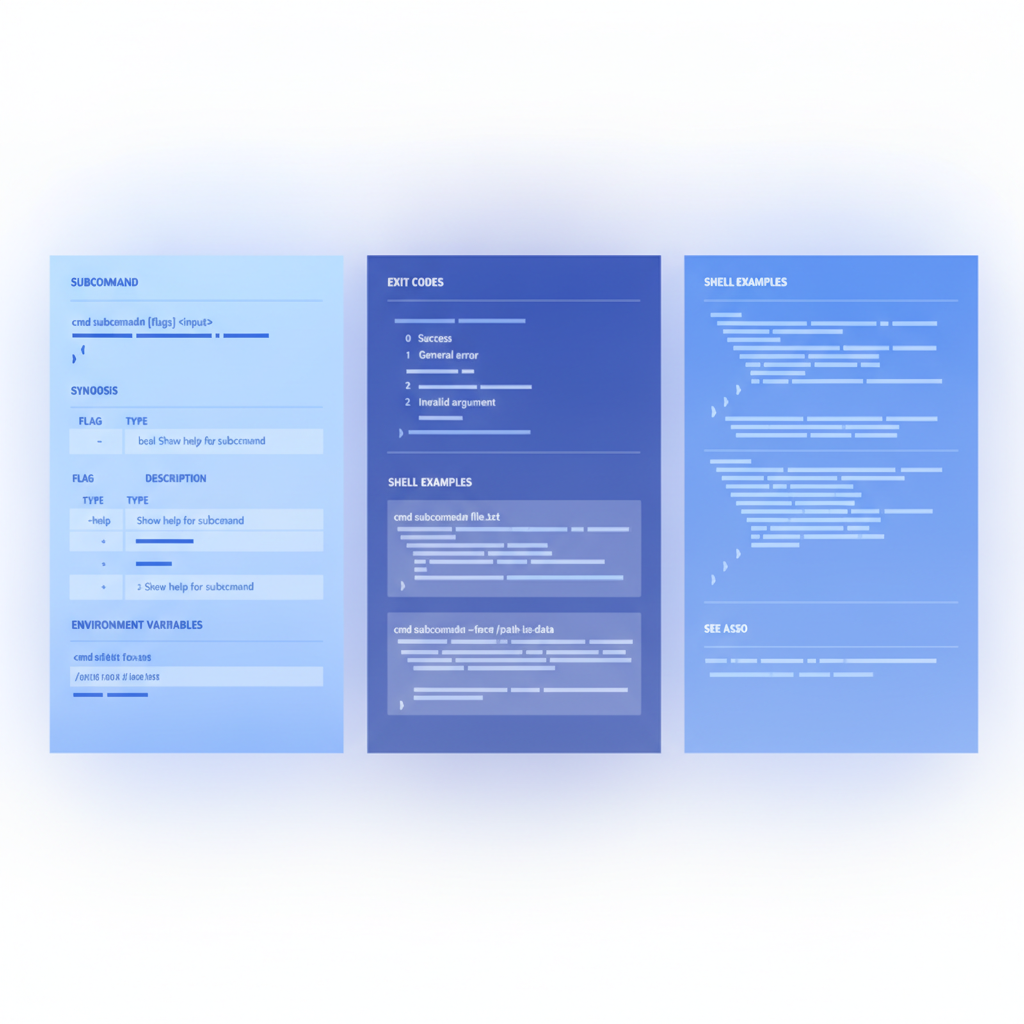
A solid per-subcommand template covers:
- Name and one-line description. State exactly what the command does. Start with a verb: "Creates a new project in the current workspace."
- Synopsis. Show the full invocation pattern with angle brackets for required arguments and square brackets for optional ones.
- Description. Two to four sentences covering behavior, side effects, and anything non-obvious. Note whether the command is destructive or idempotent.
- Flags table. One row per flag, with short form, long form, type, default, and description. Mark required flags clearly.
- Environment variables. List any env vars the subcommand reads, their types, and which flag they map to if any.
- Exit codes. A small table of every code the command can return, with a plain-English reason for each.
- Examples. At least two: the happy path and one realistic error or edge case. Use a real shell prompt (
$) and show output where it helps.
Writing the flags table
Flags are where most CLI docs are weakest. Teams list the flag name and a one-word description and call it done. That leaves readers guessing about type constraints, defaults, mutual exclusivity, and precedence over environment variables.
Here is a concrete example for a fictional myctl deploy start command:
| Short | Long | Type | Default | Required | Description |
|---|---|---|---|---|---|
-e | --env | string | none | Yes | Target environment name. Must match a name returned by myctl project list. |
-t | --timeout | integer (seconds) | 300 | No | Maximum seconds to wait for a healthy status before the command exits with code 2. |
-v | --verbose | boolean (flag) | false | No | Prints each deployment step to stdout as it occurs. Mutually exclusive with --quiet. |
| n/a | --quiet | boolean (flag) | false | No | Suppresses all output except errors. Mutually exclusive with --verbose. |
Notice the explicit "Mutually exclusive" note. That is information a developer cannot derive from the flag list alone, and it prevents a support ticket at 2 a.m.
Documenting environment variables
Environment variables are a second configuration surface that runs parallel to flags. They matter in CI/CD pipelines and Docker containers, where writing flags inline is inconvenient or insecure. Document them in a dedicated section, not buried in the flags table.
For each environment variable, state:
- The variable name, in
SCREAMING_SNAKE_CASE(the universal convention). - The equivalent flag it overrides, if one exists.
- The type and accepted values.
- Precedence: when both a flag and an env var are present, which wins?
- Whether the value is treated as a secret, so readers know not to log it.
Example section for myctl deploy start:
MYCTL_TOKEN (string, secret)
  API token used to authenticate with the deployment API.
  Equivalent to passing --token on every command.
  When both are present, the --token flag takes precedence.
  Do not echo this value in CI logs. Set it as a masked variable.

MYCTL_TIMEOUT (integer, seconds)
  Default timeout for all deploy subcommands.
  Overridden by --timeout when the flag is explicitly passed.
  Default: 300.
Exit codes: the most overlooked part of CLI documentation
Exit codes are a machine-readable API. Shell scripts, CI pipelines, and orchestration tools all branch on them. Undocumented exit codes force callers to reverse-engineer behavior by reading source code or testing in production. The IETF HTTP standard (RFC 9110) has trained developers to think in status code categories (2xx success, 4xx client error, 5xx server error). Exit codes deserve the same treatment.
POSIX convention reserves 0 for success and any nonzero value for failure, but the specific nonzero codes are yours to define. The most common patterns are:
| Code | Meaning | Analogy to HTTP |
|---|---|---|
| 0 | Command succeeded | 200 OK |
| 1 | General / unspecified error | 500 Internal Server Error |
| 2 | Timeout or partial failure | 504 Gateway Timeout |
| 3 | Authentication failure | 401 Unauthorized |
| 4 | Resource not found | 404 Not Found |
| 5 | Invalid input (bad flag value, missing required arg) | 400 Bad Request |
| 6 | Permission denied | 403 Forbidden |
| 130 | Interrupted by Ctrl+C (SIGINT) | N/A |
Document exit codes at two levels: once in a global reference table for the whole tool, and once inline in each subcommand entry for the codes that subcommand can actually emit. A global table that lists code 4 as "not found" means little if readers cannot tell which subcommands can return it.
Shell examples that actually work
Shell examples are the CLI equivalent of request and response bodies in REST docs. They should be copy-paste correct. Every example should:
- Start with a
$prompt so readers know it is a shell command, not output. - Show the full command including any required flags, not a partial snippet.
- Include expected output or at least a description of what success looks like.
- Show at least one failure case, with the error message and the relevant exit code.
Here is a worked example for myctl deploy start:
# Deploy to the staging environment with verbose output
$ myctl deploy start --env staging --verbose
Connecting to deployment API...
Building image: sha256:a1b2c3...
Pushing to registry: ok
Starting containers: ok
Health check: passed (22s)
Deployment complete. Exit code: 0

# Deployment times out (exit code 2)
$ myctl deploy start --env staging --timeout 5
Error: health check did not pass within 5 seconds.
Exit code: 2

# Missing required flag (exit code 5)
$ myctl deploy start
Error: --env is required.
Run 'myctl deploy start --help' for usage.
Exit code: 5
Showing error output is not optional. It is the content that saves the most developer time when something goes wrong at midnight.
Authoring CLI docs in API Blueprint with Apidoke
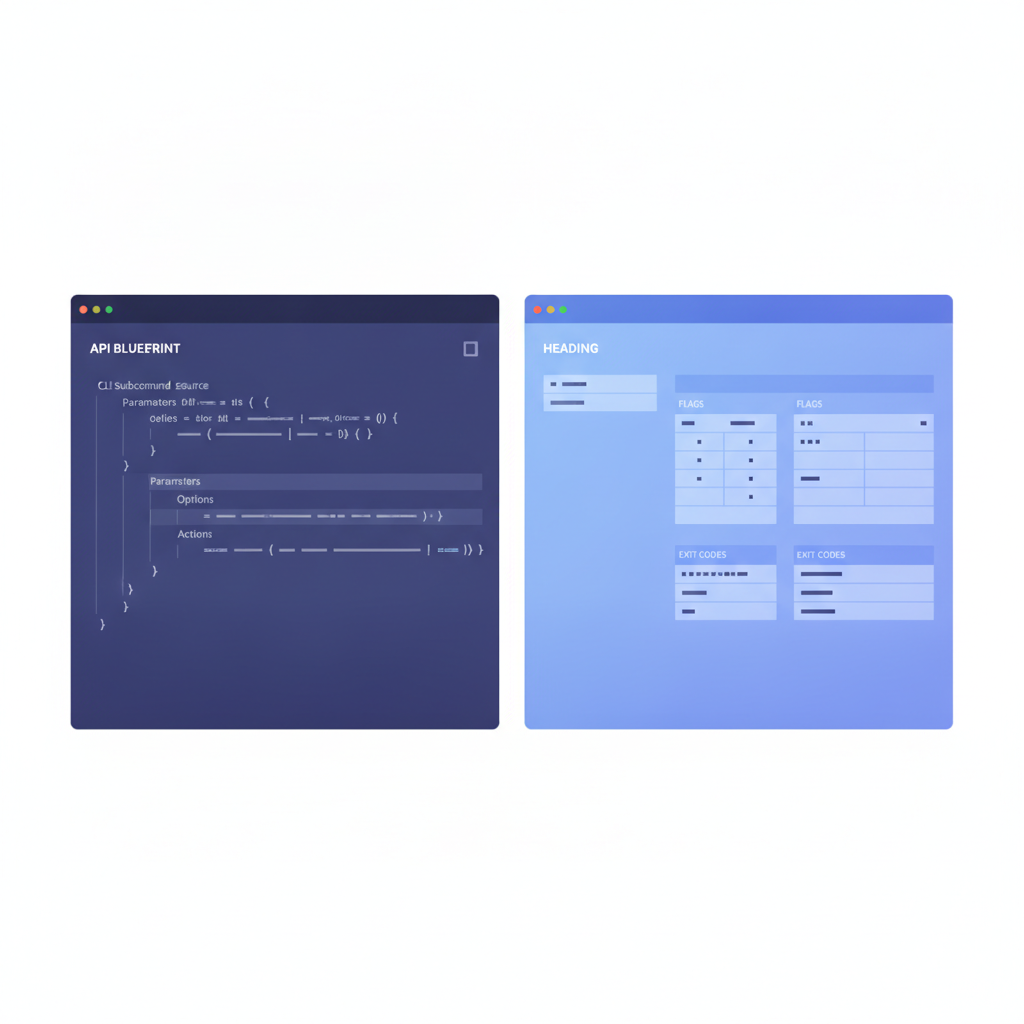
API Blueprint was designed for REST APIs, but its markdown-based format is flexible enough to serve as a clean authoring format for CLI reference docs when you treat subcommand groups the way the spec treats resource groups. You get Apidoke's 3-column viewer, live preview editor, and per-project version history without any additional tooling. For a broader look at where CLI docs fit in the API documentation landscape, the main pillar covers the full picture.
A minimal blueprint structure for a CLI might look like this:
FORMAT: 1A
HOST: https://api.example.com

# myctl CLI Reference

Command-line interface for the Example platform.
All subcommands require a valid API token set via `--token` or `MYCTL_TOKEN`.

# Group auth

Authentication subcommands. These manage the local credential store.

## auth login [/auth/login]

### myctl auth login [POST]

Authenticates the current user and writes a token to `~/.myctl/credentials`.

**Synopsis**

```
myctl auth login [--token <token>] [--email <email>]
```

**Flags**

| Flag | Type | Default | Required | Description |
|---|---|---|---|---|
| `--token` | string | none | No* | API token. If omitted, prompts for email and password. |
| `--email` | string | none | No* | Email for interactive login. Prompts for password. |

**Exit codes**

| Code | Meaning |
|---|---|
| 0 | Login succeeded. |
| 3 | Invalid credentials. |
| 1 | Unexpected error. |

+ Response 200 (application/json)

        {
          "status": "authenticated",
          "user": "alice@example.com"
        }

+ Response 401 (application/json)

        {
          "error": "invalid_credentials",
          "message": "Email or password is incorrect."
        }

# Group project

Project management subcommands.

## project create [/projects]

### myctl project create [POST]

Creates a new project in the current workspace.

**Synopsis**

```
myctl project create --name <name> [--region <region>]
```

+ Request (application/json)

        {
          "name": "my-project",
          "region": "us-east-1"
        }

+ Response 200 (application/json)

        {
          "id": "proj_abc123",
          "name": "my-project",
          "region": "us-east-1",
          "created_at": "2026-03-15T10:00:00Z"
        }

+ Response 400 (application/json)

        {
          "error": "validation_error",
          "message": "name must be between 3 and 64 characters."
        }
This pattern gives you a few concrete advantages. The # Group headings become navigation sections in Apidoke's left panel. The request and response bodies show the underlying API payloads, which is useful when your CLI wraps a REST API and developers want to understand what is happening under the hood. The API Blueprint syntax cheat-sheet has a quick reference for all the constructs used above.
Global options vs subcommand-specific options
Almost every CLI has a set of flags that apply to every subcommand, such as --verbose, --quiet, --config, and --output. Document these in a dedicated "Global options" section near the top of the reference, before the first subcommand group. Then, in each subcommand entry, refer readers to that section rather than re-documenting global flags in full. This avoids drift where the global flag description in one subcommand entry contradicts another.
If a subcommand overrides a global flag's behavior (for example, if myctl deploy start --output accepts different values than the global default), call that out explicitly in the subcommand entry. Never leave the reader to guess whether a flag behaves consistently.
Documenting non-interactive vs interactive modes
Many CLI tools have two behavioral modes: interactive (prompts the user) and non-interactive (CI-safe, reads all values from flags and env vars). This distinction matters enormously for automation and must be documented clearly.
The pattern to follow is simple:
- State at the top of each subcommand entry whether it can run non-interactively and what flags are required for that mode.
- If the command detects a non-TTY environment and falls back to non-interactive mode automatically, say so explicitly.
- Note which prompts are skipped when
CI=trueor an equivalent env var is set, if your tool checks for that.
Versioning CLI docs alongside the tool
CLI behavior changes with every release. A flag deprecated in v2.1 should be marked deprecated in the docs for v2.1, not removed silently. Apidoke's per-project version history means you can maintain a snapshot of the CLI reference for each major or minor release and link between versions, so a developer pinned to an older release can still find accurate documentation.
A minimal deprecation notice in your blueprint looks like this:
**Deprecated in v2.1.** Use `--token` instead. This flag will be removed in v3.0.
Keep the deprecated entry in the reference until the flag is actually removed from the binary. Removing docs before removing the feature is one of the fastest ways to break trust with your users.
What to include in a CLI quick-start vs the full reference
The full CLI API reference is not the place most new users start. They need a quick-start that walks them through installation, authentication, and one complete workflow. Keep these two documents separate and link between them explicitly. The reference is exhaustive; the quick-start is opinionated and short.
A CLI quick-start typically covers:
- Installation (package manager, binary download, or container image).
- Authentication (
myctl auth loginor settingMYCTL_TOKEN). - One complete workflow end to end, for example creating a project and running a first deployment.
- Where to go next: the full reference, the changelog, community support.
The full reference should link to the quick-start from its introduction. The quick-start should link to the relevant subcommand entries in the full reference for every command it uses.
Frequently asked questions
What is CLI API documentation?
CLI API documentation is the structured reference content for a command-line tool. It covers the full command tree (subcommands and their hierarchy), every flag with its type and default, environment variables that configure behavior, and exit codes the tool can return. It is distinct from REST API documentation because there are no HTTP methods or URL paths, just commands and their options.
How do I document exit codes for a CLI?
Create a global exit code table that maps every numeric code your tool can return to a plain-English meaning, with an HTTP-status analogy if it helps (0 is like 200, 3 is like 401, and so on). Then repeat the relevant subset of codes in each subcommand entry so readers do not have to cross-reference the global table constantly.
Should I document global flags separately from subcommand flags?
Yes. Document global flags (flags accepted by every subcommand, such as --verbose, --output, or --config) once in a dedicated section near the top of the reference. In each subcommand entry, reference that section rather than duplicating the content, which prevents documentation drift across entries.
Can I use API Blueprint to document a CLI that is not a REST API?
Yes. API Blueprint's # Group, ## Resource, and action structure can be adapted to represent a command hierarchy. You use the request and response body syntax to document the underlying API payloads when your CLI wraps a REST API, and you use fenced code blocks and tables for flag definitions, environment variables, and shell examples. Apidoke renders this as a clean 3-column reference with navigation built from your group and resource headings.
How often should CLI documentation be updated?
CLI docs should be updated as part of every release that adds, changes, or removes a subcommand, flag, environment variable, or exit code. Treat CLI docs as a release artifact, not an afterthought. Apidoke's per-project version history lets you publish a snapshot for each release and keep older versions accessible, which is critical for users who cannot upgrade immediately.
Ready to publish your CLI reference as a clean, versioned, publicly accessible documentation site? Create a free Apidoke account and have your first project live in minutes, no toolchain required.