
How to Write a REST API Tutorial for Developers
A REST API tutorial is a narrative, goal-driven document that takes a developer from a blank file to a working outcome, one step at a time. Unlike an API reference, which answers "what does this endpoint do?", a tutorial answers "how do I build this specific thing?" Writing one well means choosing a single concrete goal, ordering your code examples so each builds on the last, and publishing the result somewhere developers can read and immediately try the calls. Apidoke lets you do all of that in one place.
- A tutorial has a single learning objective and a predictable narrative arc: motivation, setup, steps, outcome.
- Code examples must be copy-paste-ready and progress in difficulty; every snippet should produce a real HTTP response the reader can verify.
- Tutorials complement, but do not replace, reference docs. The two document types answer different questions and belong together in the same documentation site.
- Apidoke lets you author tutorials in API Blueprint alongside your reference docs, publish them with a live try-it console, and version the whole project without extra tooling.
What Makes a Tutorial Different from Reference Docs?
Reference documentation (an endpoint list, parameter table, or error code catalogue) is optimised for lookup. A developer who already knows what they want scans it to find the exact field name or the right status code. Tutorials are optimised for learning. The reader starts confused and finishes capable. That difference drives every structural decision you will make.
Our post on reference docs versus tutorial docs covers the taxonomy in depth. The short version: a reference doc is a dictionary; a tutorial is a cooking class. You need both, and they should live in the same documentation site so a reader can jump between them.
| Dimension | Reference Doc | Tutorial |
|---|---|---|
| Primary question | What does this endpoint do? | How do I build this specific thing? |
| Reader state | Knows what they want, needs exact details | Knows the goal, does not know the path |
| Structure | Alphabetical or resource-grouped | Linear narrative with numbered steps |
| Code examples | Isolated per endpoint | Cumulative; each builds on the last |
| Success signal | Reader found the answer | Reader completed the task |
| Tone | Neutral, precise | Conversational, encouraging |
Step 1: Define a Single, Concrete Learning Objective
The most common mistake in API tutorials is scope creep. "Learn our API" is not a learning objective. "Fetch a paginated list of orders and display the total count" is. Before writing a word, finish this sentence: "By the end of this tutorial, the reader will be able to _____." If the blank takes more than one clause, split the tutorial into two.
Good learning objectives share three traits. They are observable (you can check whether the reader succeeded), achievable in one sitting (under 30 minutes of focused work), and immediately useful (the result matters to the reader's real project). A developer who ships something working in your first tutorial will return for the second.
Step 2: Map the Narrative Arc
Every effective tutorial follows roughly the same narrative shape, regardless of topic or API. Think of it as four acts.
- Motivation (1 to 2 paragraphs). Explain what the reader will build and why it matters. Name the HTTP methods involved. Do not start with history or theory.
- Prerequisites and setup. List exactly what the reader needs before line one of code: an API key, a base URL, a specific runtime version, a test account. Unmet prerequisites are the top reason tutorials are abandoned.
- Numbered steps, each producing a verifiable result. This is the body of the tutorial. Each step should end with an HTTP response the reader can check. A 200 OK is satisfying. A 401 Unauthorized with a clear explanation of why it happened is educational.
- Outcome and next steps. Confirm what was built, show the final working state, and link to the reference docs for the endpoints used and to any related tutorials.
Step 3: Write Code Examples That Actually Teach
Code is where tutorials succeed or fail. The rules are strict and worth following.
Start with the simplest possible request
Step one should be a bare GET with no query parameters. Show the full curl command, the request headers, and the exact response body. Developers new to your API need to see a 200 OK before they trust that anything works. The IETF HTTP semantics RFC 9110 defines what those status codes mean; linking to it once gives authority-conscious readers a reference.
curl -X GET https://api.example.com/v1/orders \
  -H "Authorization: Bearer YOUR_API_KEY" \
  -H "Accept: application/json"
Expected response (HTTP 200 OK):
{
  "data": [
    { "id": "ord_001", "status": "shipped", "total": 4200 },
    { "id": "ord_002", "status": "pending",  "total": 1800 }
  ],
  "meta": { "total_count": 2, "page": 1, "per_page": 20 }
}
Add complexity one variable at a time
After the happy path works, add a query parameter. Then add a request body. Then add error handling. Never introduce two new concepts in the same step. If a step introduces pagination, do not also introduce authentication headers for the first time in that same step.
Show real error responses, not just success
A tutorial that only shows 200 OK leaves developers stranded the first time something goes wrong. Include at least one error case with the full response body:
HTTP/1.1 401 Unauthorized
{
  "error": "invalid_token",
  "message": "The Bearer token is missing or has expired."
}
Explain what caused it and exactly how to fix it. This is one of the highest-value things a tutorial can do, and it is almost always skipped.
Make every snippet copy-paste-ready
Replace real credentials with clearly named placeholders like YOUR_API_KEY or YOUR_PROJECT_ID, not generic XXXX strings. Use realistic but obviously fake data for IDs and values. Remove any line that the reader does not need in order to get the result.
Step 4: Use API Blueprint to Structure the Tutorial in Apidoke
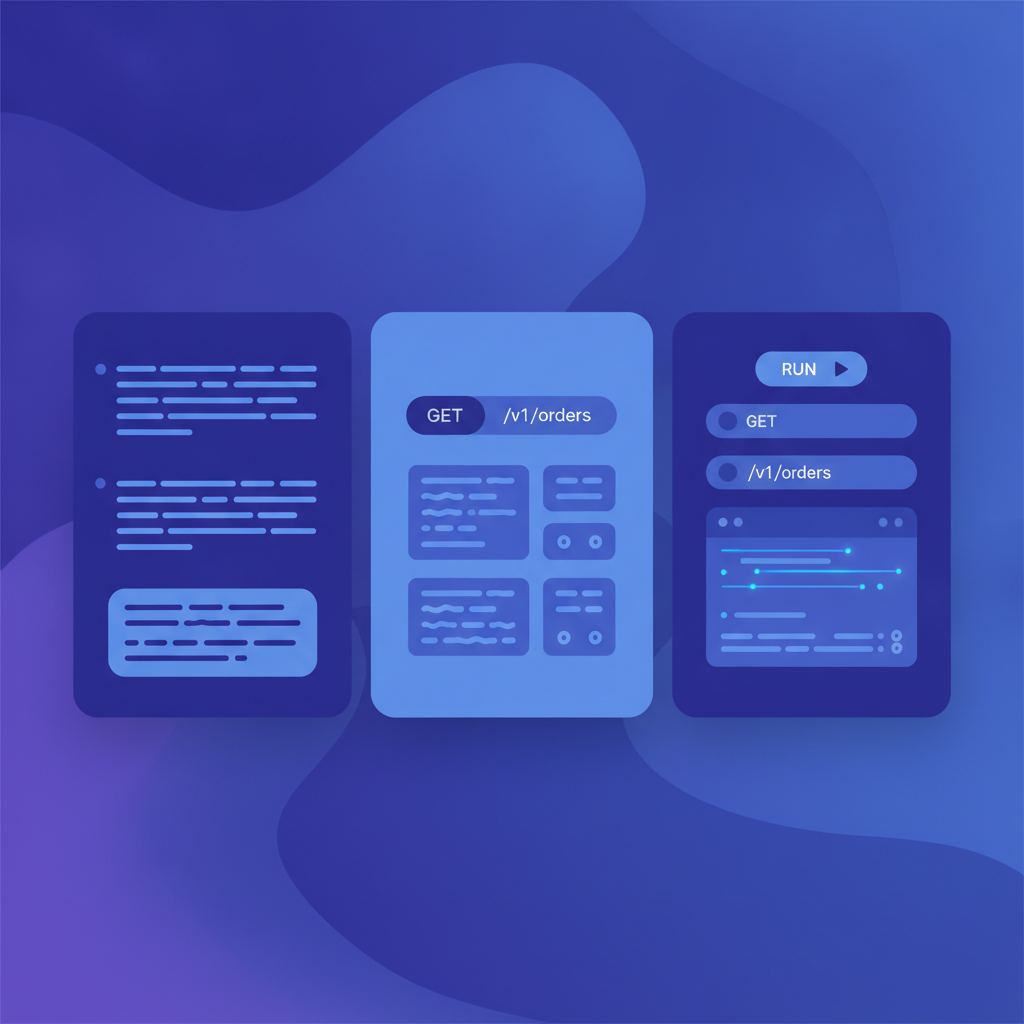
API Blueprint is a Markdown-based format for describing REST APIs. Apidoke renders it as a three-column documentation site with a live try-it console. You can write tutorial prose directly in the Blueprint file alongside your endpoint definitions, which keeps narrative and reference in the same source of truth.
A minimal tutorial section in API Blueprint looks like this:
FORMAT: 1A
HOST: https://api.example.com

# Orders API Tutorial

This tutorial walks you through fetching and filtering orders.
By the end, you will have a paginated list of shipped orders.

## Prerequisites

- An active API key (find it in your dashboard under Settings)
- curl or any HTTP client

# Group Orders

## Order Collection [/v1/orders{?status,page}]

### List Orders [GET]

Fetch a paginated list of orders. Filter by `status` to narrow results.

+ Parameters
    + status (optional, string) ... Filter by order status: `shipped`, `pending`, or `cancelled`.
    + page (optional, number) ... Page number, starting at 1.

+ Request (application/json)
    + Headers

            Authorization: Bearer YOUR_API_KEY

+ Response 200 (application/json)
    + Body

            {
              "data": [
                { "id": "ord_001", "status": "shipped", "total": 4200 }
              ],
              "meta": { "total_count": 1, "page": 1, "per_page": 20 }
            }

+ Response 401 (application/json)
    + Body

            {
              "error": "invalid_token",
              "message": "The Bearer token is missing or has expired."
            }
The # Group Orders directive creates a navigation section in Apidoke's left column. The ## Order Collection line defines the resource. The ### List Orders [GET] line defines the action. Readers can fire the live GET request directly from the try-it console on the right, with their own API key, without leaving the documentation page.
For a full breakdown of Blueprint syntax including + Request, + Response, and parameter blocks, see the API Blueprint syntax cheat-sheet.
Step 5: Layer in Learning Checkpoints
After every two or three steps, add a short checkpoint: a sentence or a small code block that confirms the reader is in the right state before continuing. Something like:
At this point you should have received a 200 response with a data array. If you got a 404, check that your base URL does not include a trailing slash.Checkpoints do two things. They catch readers who missed a step, and they give a small sense of progress that keeps people moving forward. This is especially valuable in tutorials covering POST or PUT requests, where a wrong request body can send readers down a long debugging path.
Step 6: Handle Authentication Without Leaking Secrets
Authentication is often the hardest part of a first API call. Cover it explicitly, early, and carefully. Show the reader exactly where the token goes in the header, what happens if it is missing (401 Unauthorized), and what happens if it is expired (usually another 401 with a different error message in the body).
When publishing with Apidoke, your readers enter their real API token into the try-it console. That token is used only in the browser to make the live HTTP request directly to your API. It never touches Apidoke's servers. This matters for tutorials that cover authenticated endpoints: readers can test real calls without worrying that their credentials are being logged by a third-party documentation tool.
Step 7: Write the Prerequisites Section Honestly
A prerequisite list that is too vague wastes everyone's time. "Some programming experience" tells the reader nothing. This list does:
- Node.js 20 or later installed locally, or access to a curl-capable terminal
- An API key from your account settings page (takes about 30 seconds to generate)
- Familiarity with JSON: you should be able to read a response body and identify field names and values
- No prior knowledge of this API is required
List what you need, list what you do not need, and give an estimated time to completion. "This tutorial takes about 20 minutes" is a small promise that dramatically increases the chance a reader starts.
Step 8: Connect the Tutorial to Your Reference Docs
Every tutorial should end with links into the reference documentation for the specific endpoints, parameters, and error codes it used. This is how the two document types work together: the tutorial shows the reader what to build; the reference docs tell them everything about the tools they just used.
In Apidoke, both live in the same published project. The tutorial text sits in a named group in your API Blueprint file, and the reference endpoints sit in their own groups. The left-column navigation shows both. A reader who finishes the tutorial can immediately navigate to the full endpoint reference without switching tabs or searching for a second URL.
If you are building your first project from scratch, the guide on how to document a REST API step by step covers the reference documentation side of the same workflow, and the two posts together give you the complete picture.
Step 9: Version Your Tutorial Alongside Your API
APIs change. A tutorial written for v1 of your API will mislead developers the moment you rename a field or change a status code in v2. Apidoke stores per-project version history, so you can snapshot the current tutorial at each release, keep the old version accessible for users who have not migrated yet, and update the current version without breaking old links.
The practical habit is to update the tutorial whenever you update the reference docs for the same endpoint. Treat them as a unit, not as separate documents owned by separate people.
Step 10: Publish and Invite Feedback
A tutorial that sits in a private repository helps no one. Apidoke's one-click public publishing gives you a shareable URL immediately, with no build pipeline to configure. Share it in your API onboarding email, in your developer community, and in the getting-started section of your main documentation site.
Add a short feedback prompt at the end of every tutorial: "Did this tutorial work as written? Let us know at [support email]." Even a handful of replies will surface the exact step where readers get stuck, which is almost always one specific ambiguous instruction or one missing prerequisite.
Common Mistakes That Kill REST API Tutorials
- Starting with authentication setup. Move auth to a prerequisite link if possible, or to step one with very explicit instructions. Do not spend the first three steps just getting a token.
- Using production data in examples. Always use test or sandbox data. If your API has a sandbox environment, make that the default for the tutorial and say so explicitly.
- Skipping the response body. Show the full JSON response, not just the status code. Readers need to know what a successful response looks like before they can write code against it.
- Assuming the reader knows your domain. Define every domain term on first use. "An order" means something specific in your data model; say what it contains.
- Never updating the tutorial. A tutorial with a broken step is worse than no tutorial, because it destroys trust. Treating docs as code and reviewing them in pull requests alongside API changes is the most reliable way to keep them accurate.
Frequently Asked Questions
How long should a REST API tutorial be?
Long enough to complete one concrete task, short enough to finish in a single sitting. In practice, that means 500 to 1500 words of prose plus code examples. If the tutorial is longer, split it into two with a clear part-one, part-two structure.
Should a tutorial include error handling or just the happy path?
Always include at least one common error case with the full response body and a fix. A 401 Unauthorized or a 400 Bad Request with a missing required field are good candidates. Readers who only see 200 OK examples are unprepared for real usage.
Can I write both a tutorial and reference docs in the same Apidoke project?
Yes. In API Blueprint, you use named # Group blocks to separate tutorial sections from reference sections. Both appear in the same left-column navigation, and both benefit from the live try-it console, so readers can test calls from anywhere in the document.
How is a tutorial different from a quickstart guide?
A quickstart is the shortest possible path to a first successful API call, often just three to five steps with no explanation of why each step works. A tutorial is longer, explains the reasoning behind each step, and usually covers a more complete use case like pagination, filtering, or error handling.
What HTTP status codes should I always cover in an API tutorial?
At minimum: 200 OK for a successful response, 201 Created if the tutorial includes a POST, 400 Bad Request for invalid input, and 401 Unauthorized for authentication problems. These four cover the scenarios developers encounter most often on their first day using a new API.
Ready to write and publish your first REST API tutorial? Create a free Apidoke account and have your tutorial live, with a try-it console, in under an hour.