
What Makes API Docs Interactive (Try-It Consoles Explained)
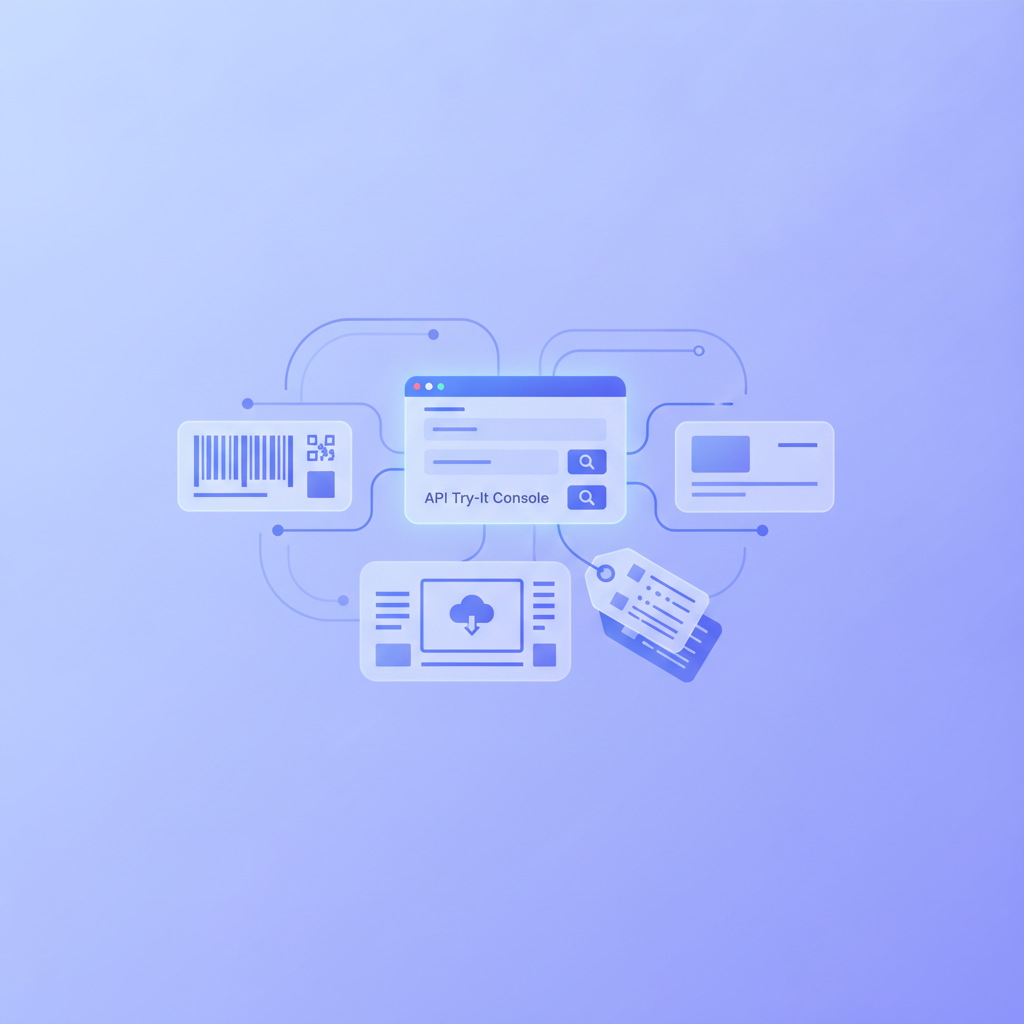
Interactive API docs are documentation pages that include a live console where developers can fill in parameters, add authentication headers, fire real HTTP requests, and see actual server responses without leaving the page. Apidoke ships this console as a built-in feature of every published API reference, so there is nothing extra to configure or wire up.
- A try-it console turns a static API reference into a two-way tool: readers can read an endpoint description and test it in the same view.
- Auth tokens and request bodies entered into Apidoke's console stay in the browser and never pass through Apidoke's servers, which matters for security-conscious teams.
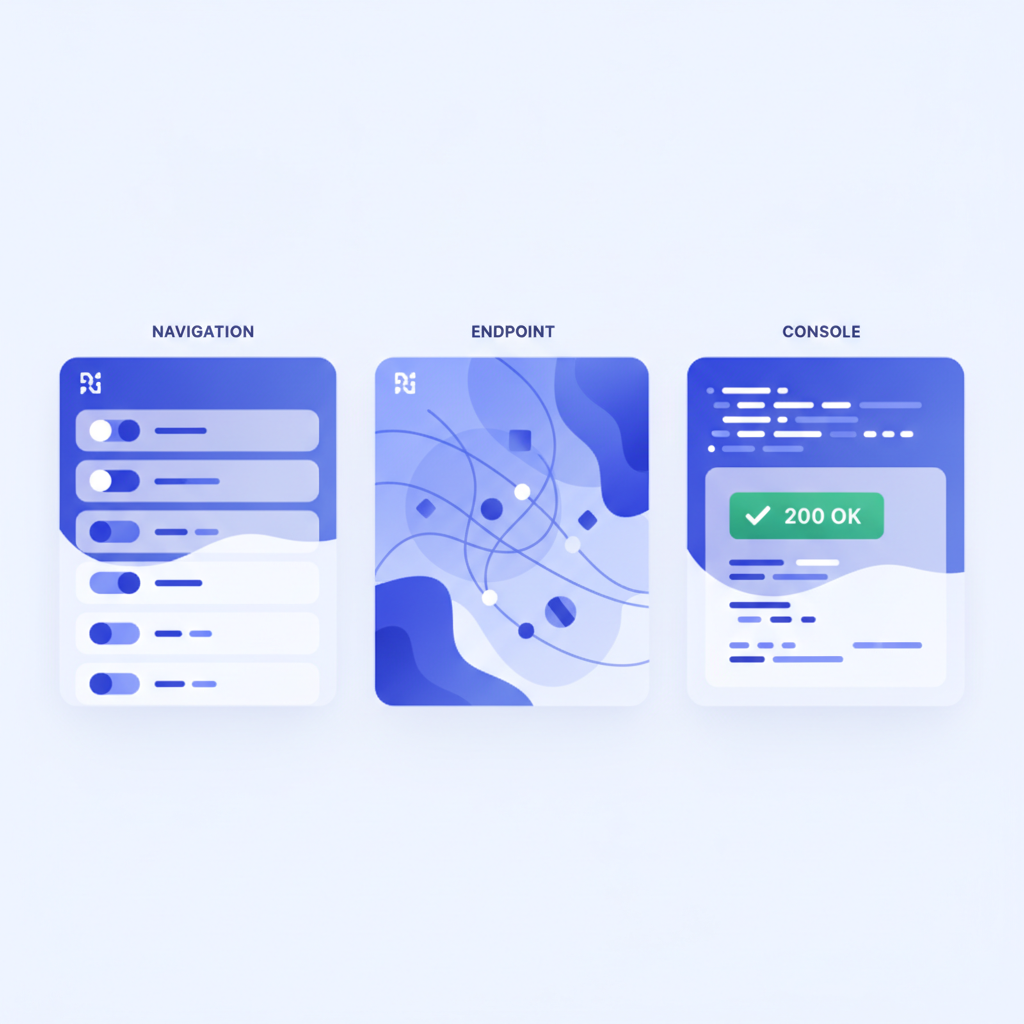
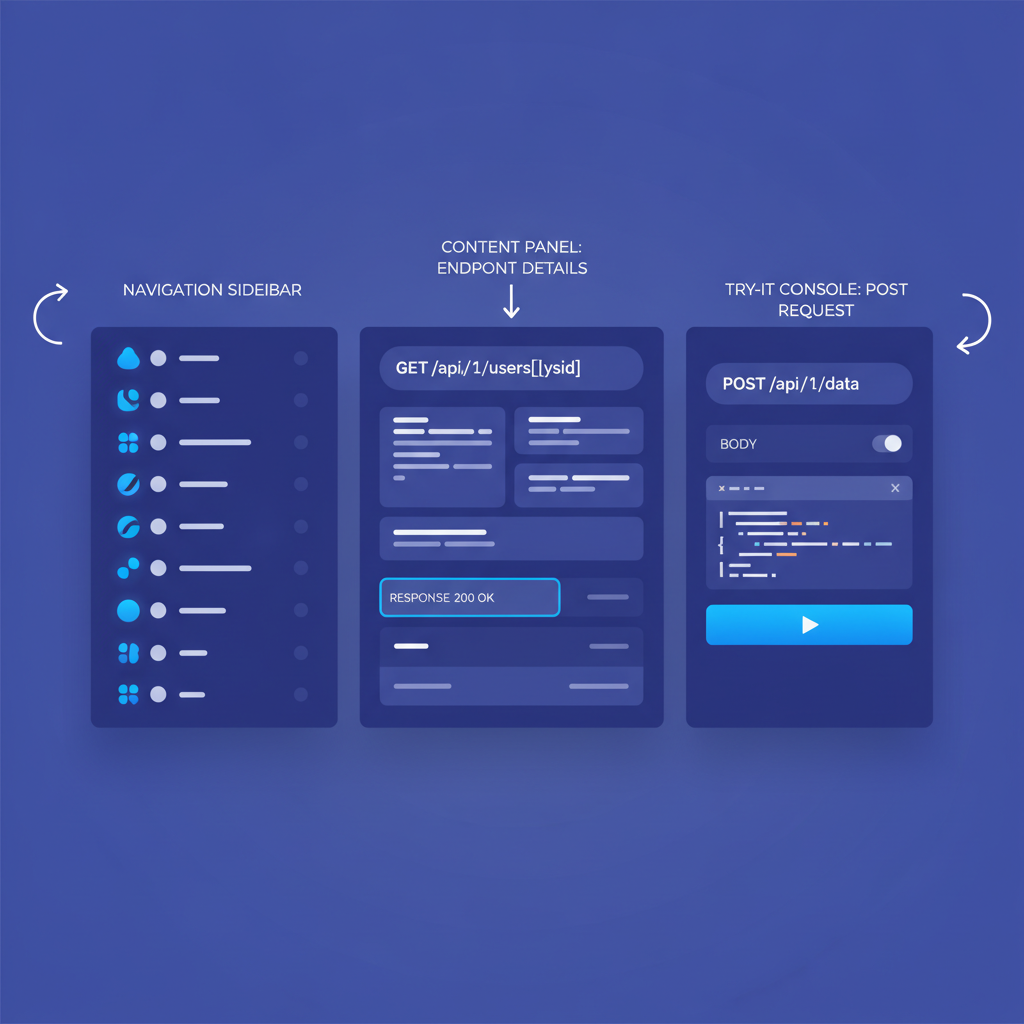
- Apidoke's 3-column layout places navigation, documentation content, and the live console side by side, so context is never lost while testing.
- The whole stack is self-hostable, meaning the interactive layer comes with your deployment and does not depend on a third-party service staying online.
What does "interactive API docs" actually mean?
The phrase gets used loosely, so a precise definition helps. Static API documentation is a read-only page: endpoint paths, parameter tables, response schemas, and maybe some code samples. Useful, but passive. Interactive API documentation adds a request builder that lets a developer select an endpoint, supply values, and trigger a live call against the real API. The response, including the HTTP status code and body, comes back in the same interface.
That distinction matters because the most common friction point in API adoption is not reading the docs. It is the gap between reading and actually making the first successful request. A try-it console collapses that gap to almost nothing.
How does a try-it console work technically?
When a developer clicks "Send" in a try-it console, the browser constructs an HTTP request using the values entered in the form fields and dispatches it directly to the target API. No proxy, no intermediary. The browser's native fetch API or XMLHttpRequest handles the call.
A few things have to be true for this to work cleanly:
- CORS headers on the target API. Because the request originates from the documentation page's origin, the API server must return the appropriate
Access-Control-Allow-Originheader. If it does not, the browser blocks the response. This is the most common reason a try-it console appears to hang or return nothing. - A valid base URL. The console needs to know where to send requests. In Apidoke, the base URL comes from the API Blueprint source you author, specifically the
HOSTmetadata field at the top of the document. - Authentication plumbing. Most production APIs require a token. The console provides input fields for common schemes such as Bearer tokens (sent as
Authorization: Bearer <token>) and API keys. These values are held in browser memory for the session only. - Request body encoding. POST, PUT, and PATCH endpoints usually expect a JSON body. The console must serialize the input into the correct
Content-Type: application/jsonpayload before sending.
For a deeper look at how HTTP request semantics are defined, the IETF RFC 9110 specification covers methods, status codes, and headers in authoritative detail.
What does a real API Blueprint endpoint look like in Apidoke?
Apidoke uses API Blueprint, a Markdown-based description format. Here is a minimal but complete example of an endpoint definition that the try-it console can parse and render:
FORMAT: 1A
HOST: https://api.example.com

# My API

# Group Users

## User Collection [/users]

### List Users [GET]

Returns a paginated list of registered users.

+ Request (application/json)

    + Headers

            Authorization: Bearer <token>

+ Response 200 (application/json)

    + Body

            {
              "users": [
                { "id": 1, "name": "Ada Lovelace", "email": "ada@example.com" },
                { "id": 2, "name": "Grace Hopper", "email": "grace@example.com" }
              ],
              "total": 2
            }

+ Response 401 (application/json)

    + Body

            { "error": "Unauthorized", "message": "Bearer token missing or invalid" }
When Apidoke renders this source, the 3-column view places the GET /users endpoint in the navigation panel, the description and response schema in the centre content panel, and the live console in the right panel. A developer reading about List Users can immediately paste a real Bearer token, hit Send, and see whether they get back a 200 OK with user data or a 401 Unauthorized with an error message. No context switching, no separate tool required.
Static docs vs interactive docs: what is the real difference?
| Capability | Static API docs | Interactive API docs (with try-it console) |
|---|---|---|
| Read endpoint descriptions | Yes | Yes |
| View request and response examples | Yes (hard-coded) | Yes (real responses from your API) |
| Send a live HTTP request | No | Yes |
| Test authentication in the docs | No | Yes |
| See real HTTP status codes | No | Yes (200, 404, 401, 422, etc.) |
| Debug response payloads immediately | No | Yes |
| Token security | Not applicable | Tokens stay in the browser; Apidoke never receives them |
Why does the try-it console improve developer experience so much?
The cognitive load of API integration is highest at the start. A developer has to understand the request shape, find valid test credentials, pick an HTTP client, format the request correctly, and interpret whatever comes back. Every one of those steps is a place where momentum dies.
A try-it console inside the docs removes four of those five steps. The request shape is already pre-filled from the spec. The HTTP client is the console itself. The formatting happens automatically. And the response lands right there on screen with the status code highlighted. The developer's only remaining job is supplying a token.
Teams that ship interactive docs consistently report fewer support tickets about basic endpoint usage, because developers can self-serve their way to a working request before they ever open a support channel.
What about security? Should I worry about tokens in a browser-based console?
This is a fair concern and worth addressing directly. In Apidoke's console, any token or API key a developer types is used to construct the request locally in the browser. The request goes directly from the developer's browser to their own API server. Apidoke's infrastructure is not in that path at all. The token never touches Apidoke's servers.
This is the same model used by browser developer tools or a local curl command. The risk surface is the developer's own machine and the API server, not the documentation platform. For teams self-hosting Apidoke, the entire stack sits inside their own infrastructure, which closes the loop entirely.
How does Apidoke's 3-column layout support the try-it workflow?
Layout is not cosmetic here; it is functional. Many older documentation tools present try-it consoles as a modal dialog or a separate tab, which breaks reading flow. You lose your place in the docs every time you want to test something.
Apidoke's 3-column design keeps all three surfaces visible at once:
- Left column (navigation): A structured sidebar built from the API Blueprint's
# Groupand resource headings. Clicking a resource scrolls the centre and updates the console simultaneously. - Centre column (content): The rendered endpoint description, parameter table, and annotated request and response examples from the Blueprint source.
- Right column (console): Pre-populated with the selected endpoint's method, path, and expected request body shape. Ready to send without any setup.
This is the same layout pattern that made Apiary popular among API teams for years, and it remains the most ergonomic arrangement for documentation that doubles as a test harness.
What types of API endpoints benefit most from a try-it console?
Every endpoint benefits to some degree, but certain categories see the largest drop in friction:
- Authentication endpoints (like
POST /auth/token) where developers need to see the exact token format returned before they can use any other endpoint. - Search and filter endpoints with many optional query parameters, where the interplay of parameters is hard to reason about from a table alone.
- Webhook and event endpoints where a
POSTbody structure is complex and typos in field names cause silent failures. - Pagination endpoints where cursor-based or offset-based navigation requires a real response to understand the next-page token format.
How does Apidoke compare to building a try-it console yourself?
Some teams consider building their own interactive docs layer, usually by hand-coding a frontend that calls the API on the developer's behalf. The effort is non-trivial: you need to parse the API spec, render parameter forms, handle authentication schemes, manage CORS errors gracefully, format request and response bodies, and maintain the whole thing as the API evolves.
Apidoke gives you all of that by writing one API Blueprint file and running one publish command. When the API changes, you update the Blueprint source and republish. The console updates automatically because it reads directly from the spec. Version history is built in at the project level, so older published versions remain accessible while the current one gets updated.
For a practical walkthrough of writing your first spec and publishing it, the getting started guide for publishing your first interactive API doc covers the full process step by step. And if you are still weighing your options, the complete API documentation tool guide explains where interactive docs fit in the broader landscape.
Frequently asked questions
What is a try-it console in API documentation?
A try-it console is an interactive form embedded in an API reference page that lets developers fill in endpoint parameters and authentication credentials, send a real HTTP request to the API, and view the response, including status codes and JSON bodies, without leaving the documentation.
Are tokens entered into a try-it console safe?
In Apidoke's console, tokens are used only to build the outbound request in your browser and are sent directly to your own API server. They are never transmitted to Apidoke's infrastructure. The risk profile is equivalent to using a local command-line tool like curl.
Do I need to know how to code to add a try-it console to my API docs?
Not with Apidoke. You write your API description in API Blueprint, a plain-text Markdown-based format, and Apidoke renders the 3-column interactive viewer, including the console, automatically. No frontend development or configuration is required.
What HTTP methods does a try-it console support?
A well-built console supports all standard REST methods: GET, POST, PUT, PATCH, and DELETE. Apidoke reads the method from your API Blueprint source and pre-populates the console accordingly, so each endpoint shows only the method it actually uses.
Can I self-host interactive API docs with a try-it console?
Yes. Apidoke is built to be self-hosted, which means the entire interactive documentation stack, including the live console, runs on your own infrastructure. This is particularly useful for teams documenting internal APIs that should not be exposed through any third-party platform.
If you want to see how this works with your own API, you can create a free Apidoke account at register for Apidoke and have your first interactive API reference published in minutes, no credit card required.
Related reading: API Versioning Strategies (and How to Document Them)
Related reading: Writing a Good API Changelog