
Publish API Docs Without Code: A No-Toolchain Walkthrough

You can publish API docs without code by writing your endpoints in API Blueprint (a plain-text Markdown-based format) inside Apidoke's browser editor, then clicking one button to generate a live, three-column interactive reference. No terminal, no Node.js, no deployment scripts. The entire authoring-to-publishing loop runs in your browser and takes roughly 20 minutes the first time.
- API Blueprint is plain text. If you can write a bullet list, you can write an API Blueprint file. No JSON schemas or YAML indentation anxiety required.
- Apidoke renders as you type. The split-pane editor shows a live preview of the three-column doc on the right while you write on the left, so you catch mistakes immediately.
- One click publishes a shareable URL. No build step, no hosting account, no DNS record to configure.
- Your auth tokens never leave your browser. The try-it console fires real HTTP requests client-side, so sensitive credentials stay with the person testing, not on any server.
Who is this walkthrough for?
This guide is written for product managers, technical writers, and back-end developers who want to ship readable, testable API docs fast, without owning a documentation toolchain. If you have already shipped docs before and want the broader picture of API Blueprint syntax, the API Blueprint syntax cheat-sheet is a good companion reference. If you are comparing Apidoke with heavier platforms before committing, the best API documentation tools comparison for 2026 covers trade-offs in detail.
What you will need before you start
Genuinely nothing beyond a modern browser and an Apidoke account (free, no credit card). You do not need:
- Node.js, Ruby, Python, or any runtime installed locally
- A Git repository or CI/CD pipeline
- A hosting provider or a server
- Knowledge of OpenAPI, JSON Schema, or YAML
The only concept worth defining before we begin: API Blueprint is an open specification for describing REST APIs using a superset of Markdown. A group becomes a navigation section, a resource is a URL pattern, and an action is an HTTP method (GET, POST, PUT, DELETE, PATCH) attached to that resource. The full specification is maintained at apiblueprint.org.
Step-by-step: from blank page to live docs
Step 1. Create a free Apidoke account
- Go to /register and sign up. No credit card prompt appears at any point.
- After confirming your email, you land on the project dashboard.
- Click New Project, give it a name (for example, Bookstore API), and confirm. Apidoke creates an empty API Blueprint file and opens the split-pane editor.
Step 2. Understand the editor layout
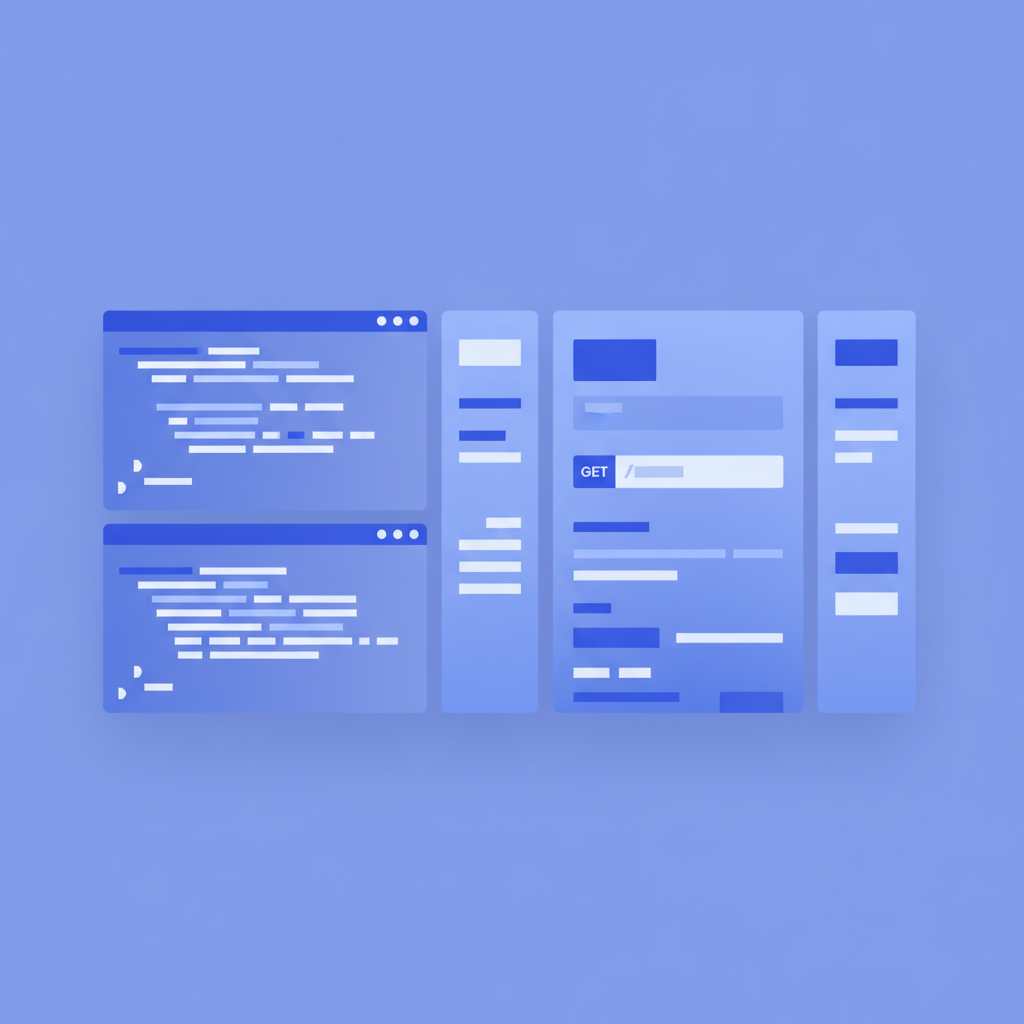
The editor is split into two vertical panes. The left pane is a CodeMirror text editor with syntax highlighting for API Blueprint. The right pane is a live preview that re-renders within a second of every keystroke. Below the editor, a toolbar lets you save a named version, open the full three-column public view, and copy the shareable URL.
Step 3. Write your first API Blueprint document
API Blueprint files start with a format declaration and a title, then group related resources together. Copy the example below into the left pane exactly as shown:
FORMAT: 1A
HOST: https://api.example.com

# Bookstore API

A simple REST API for managing books.

# Group Books

## Books Collection [/books]

### List all books [GET]

+ Response 200 (application/json)

        [
          {
            "id": 1,
            "title": "Designing APIs",
            "author": "Robert Peel",
            "isbn": "978-1-492-02647-9"
          },
          {
            "id": 2,
            "title": "REST in Practice",
            "author": "Jim Webber",
            "isbn": "978-0-596-80582-4"
          }
        ]

### Create a book [POST]

+ Request (application/json)

        {
          "title": "Domain-Driven Design",
          "author": "Eric Evans",
          "isbn": "978-0-321-12521-7"
        }

+ Response 201 (application/json)

        {
          "id": 3,
          "title": "Domain-Driven Design",
          "author": "Eric Evans",
          "isbn": "978-0-321-12521-7"
        }

## Single Book [/books/{id}]

+ Parameters
    + id: `1` (number, required) - Numeric ID of the book

### Get a book [GET]

+ Response 200 (application/json)

        {
          "id": 1,
          "title": "Designing APIs",
          "author": "Robert Peel",
          "isbn": "978-1-492-02647-9"
        }

+ Response 404 (application/json)

        {
          "error": "Book not found"
        }

### Delete a book [DELETE]

+ Response 204
The preview pane on the right now shows a navigation column listing Books as a group, a content column describing each endpoint, and a try-it console column on the far right. You have not written a single line of HTML, JavaScript, or CSS.
Step 4. Read the live preview critically
Scan the preview for three things before publishing:
- Navigation completeness. Every
# Groupheading should appear as a collapsible section in the left column. If a group is missing, check that the heading uses a single#and the wordGroup. - Response codes. Verify that all realistic codes are documented. A GET endpoint that can return 200, 401 (unauthorized), and 404 (not found) should list all three. Consumers who get a 401 and see no documentation for it lose trust immediately. According to RFC 9110, 401 specifically means the request lacks valid authentication credentials, so document what credentials are expected.
- Request body accuracy. Click the try-it console for your POST endpoint and verify the pre-populated body matches what your real API accepts.
Step 5. Save a version
Before publishing, click Save Version in the toolbar. Type a label like v1.0 initial release. Apidoke stores a snapshot of the document at this point. Version history is per-project, so if you later revise the docs and break something, you can restore any earlier snapshot from the Versions panel. This replaces the need for a Git commit history for non-developers.
Step 6. Publish and share
- Click Publish. Apidoke generates a public URL instantly, for example
https://apidoke.com/docs/your-project-slug. - Copy the URL and paste it into a Slack message, a Notion page, a Confluence doc, or an email. Anyone with the link can read the full three-column reference and use the try-it console.
- No DNS record, no CDN setup, no deployment script ran. The doc is live.
What the try-it console does (and does not do)
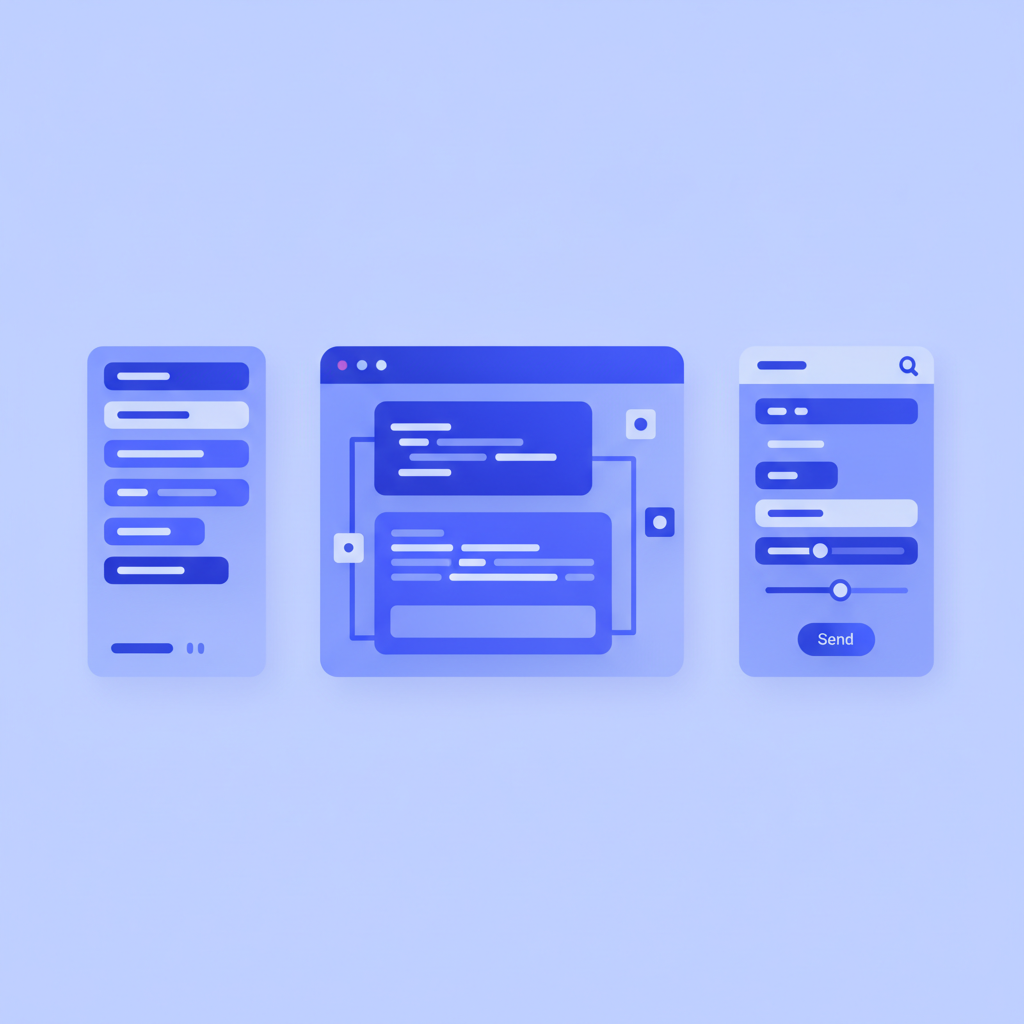
The try-it console is the right-most column of the published doc. It lets anyone fill in path parameters, query strings, headers, and a request body, then fire a real HTTP request directly from their browser to the HOST URL declared at the top of your Blueprint. The response (status code, headers, and body) appears inline.
One detail matters for teams handling sensitive APIs: the request goes from the reader's browser directly to your API server. Apidoke's servers are not a proxy. A reader who types a Bearer token into the Authorization header is sending that token to your API, not to Apidoke. Credentials stay client-side. This is a meaningful privacy difference from tools that route try-it requests through a vendor's backend.
If your API is on localhost during development, the try-it console will not reach it from a remote browser. For local testing, change the HOST to a public URL (a tunnel service like ngrok works well) or use the try-it console only after deploying to a staging environment.
Common mistakes and how to avoid them
| Mistake | What goes wrong | Fix |
|---|---|---|
| Response body indented by fewer than 8 spaces | Body renders as plain text rather than a formatted JSON block | Indent the JSON body by exactly 8 spaces (two levels of 4-space indentation after + Response) |
| Missing HOST declaration | Try-it console has no base URL; requests fail immediately | Add HOST: https://your-api.example.com on line 2 of the file |
| Using tabs instead of spaces | Parser treats tab-indented blocks as code literals, not API Blueprint structure | Configure your editor to insert spaces; CodeMirror in Apidoke defaults to spaces |
| Action heading missing the HTTP method in brackets | Action appears in the nav but has no method badge (GET, POST, etc.) | Format as ### Action name [GET] with the method in square brackets |
| Documenting only the happy path (200) | Consumers are surprised by 401, 403, or 404 responses in production | Add a + Response 401 and + Response 404 block for every endpoint that can return them |
Adding authentication documentation
Most real APIs require authentication. Document it by adding a dedicated section near the top of your Blueprint, before the first Group, and then reference it in each action's request block. Here is a minimal example for a Bearer token API:
# Group Authentication

## Token [/auth/token]

### Request a token [POST]

+ Request (application/json)

        {
          "username": "reader@example.com",
          "password": "correct-horse-battery"
        }

+ Response 200 (application/json)

        {
          "access_token": "eyJhbGciOiJIUzI1NiIsInR5cCI6IkpXVCJ9...",
          "expires_in": 3600
        }

+ Response 401 (application/json)

        {
          "error": "Invalid credentials"
        }
Then, on any protected endpoint, include the Authorization header in the request block so the try-it console pre-fills it:
### List all books [GET]

+ Request
    + Headers

            Authorization: Bearer eyJhbGciOiJIUzI1NiIsInR5cCI6IkpXVCJ9...

+ Response 200 (application/json)

        [ ... ]
Keeping docs up to date: using version history
Every time your API changes, open the project in Apidoke, edit the Blueprint, save a new named version (for example v1.1 add DELETE /books/{id}), and republish. The public URL stays the same; the content updates immediately. Readers always see the latest version, and you keep a full audit trail in the Versions panel without needing Git.
If you ever ship a breaking change (removing a field, changing a response code from 200 to 204, renaming a parameter), save the old version with a clear label before overwriting. You can then share the permalink to the archived version with consumers who need time to migrate. This workflow is covered in more depth in the guide on API versioning strategies and how to document them.
What this approach does not replace
Being honest about limitations matters. The no-toolchain approach in Apidoke is ideal for teams who want fast, low-maintenance, readable API references. It is not the right fit if you need:
- Programmatic doc generation from code annotations. Apidoke does not read JSDoc, Go doc comments, or Java annotations. You write the Blueprint by hand or paste it from a template.
- OpenAPI or Swagger import. Apidoke works exclusively with the API Blueprint format. If your existing docs are in OpenAPI, you would need to translate them (the API Blueprint vs OpenAPI comparison covers the differences and conversion options).
- Custom domain names. Apidoke publishes to its own subdomain. If your company policy requires docs at
docs.yourcompany.com, the self-hosted deployment option lets you run Apidoke on your own infrastructure.
Frequently asked questions
Do I need to know how to code to use Apidoke?
No. API Blueprint is plain Markdown extended with a few structural conventions (indentation, brackets around HTTP methods, and the word Group). If you can write a formatted email or a Confluence page, you can write a Blueprint document. The hardest part for most non-developers is getting the 8-space indentation right on response bodies, which Apidoke's editor highlights visually.
Can I publish API docs without a server or hosting account?
Yes. Apidoke hosts the published output for you. You write and save in the browser, click Publish, and Apidoke generates a public URL. You do not need AWS, Netlify, Vercel, or any other hosting account.
Is the published URL permanent?
The URL persists as long as your Apidoke project exists. If you rename the project slug, the URL changes. Best practice is to finalize the project slug before sharing the URL widely.
What HTTP methods does API Blueprint support?
API Blueprint supports all standard HTTP methods: GET, POST, PUT, PATCH, DELETE, HEAD, and OPTIONS. You declare the method in square brackets after the action name, for example ### Update a book [PUT]. The try-it console renders a matching form for each method.
How do I update docs after publishing without breaking the URL?
Edit the Blueprint in the project editor, save a new version with a descriptive label, and click Publish again. The public URL stays identical; the content updates in place. Previous versions remain accessible in the Versions panel so you can restore or reference them at any time.
Ready to publish your first API doc without touching a terminal? Create your free Apidoke account and have a live, interactive reference in front of your team in under 30 minutes.
Related reading: Continuous Documentation: Keeping API Docs in Sync with CI/CD
Related reading: How to Document API Pagination