
Getting Started: Publish Your First Interactive API Doc

To publish API docs with Apidoke, you write your API description in API Blueprint format, paste it into Apidoke's split-pane editor, and click Publish. Within minutes you have a live, three-column interactive reference, complete with a try-it console that fires real HTTP requests, and a public URL you can share. No CLI, no build pipeline, no credit card required.
- Apidoke's browser-based editor gives you a live preview as you type, so you see the rendered docs before anyone else does.
- One click publishes a clean three-column reference: navigation on the left, content in the center, and a try-it console on the right.
- Auth tokens entered into the try-it console stay in your browser and never reach Apidoke's servers.
- Every save creates a version snapshot, so you can roll back to any previous state without a git repository.
What you will need before you start
You need an Apidoke account (free, no credit card) and a rough idea of the API endpoint you want to document. You do not need to install Node, Ruby, or any local tooling. Everything runs in the browser.
If you are new to API Blueprint, the short version is this: API Blueprint is a Markdown-based description language maintained by Apiary. You describe HTTP resources, their request bodies, and their responses in plain text. Apidoke reads that text and renders the interactive reference automatically. For a deeper background, see our complete guide to API Blueprint.
Step-by-step: from blank editor to published URL
- Create a project. After signing in at /register, click New Project, give it a name (for example, "Payments API"), and open the editor. You land on a split pane: raw API Blueprint on the left, live rendered preview on the right.
- Write your first API Blueprint block. Paste the minimal example below into the left pane. The preview on the right updates instantly.
- Add a real request and response. Expand the example with a request body and a response body so the try-it console has something to show (see the full example in the next section).
- Check the live preview. Confirm the navigation panel lists your group and endpoint correctly, and that the response schema renders as expected.
- Click Publish. Apidoke generates a public URL for your project. Share it with your API consumers directly.
- Iterate and version. Edit the Blueprint text at any time. Each save is stored as a version snapshot in the project's version history, so you can compare or restore any prior state.
A minimal API Blueprint to copy and paste
The following snippet documents a single POST /charges endpoint. It demonstrates the core API Blueprint constructs you will use in almost every real project: a named # Group, a resource heading with a URI, an action with an HTTP method, a typed request body, and two + Response blocks (one success, one error).
FORMAT: 1A
HOST: https://api.example.com

# Payments API

A minimal API for creating payment charges.

# Group Charges

## Charge Collection [/charges]

### Create a Charge [POST]

Create a new payment charge. The request body must include `amount` (integer,
cents) and `currency` (ISO 4217 three-letter code).

+ Request (application/json)

    + Body

            {
              "amount": 2000,
              "currency": "usd",
              "description": "Order #1042"
            }

+ Response 201 (application/json)

    + Body

            {
              "id": "ch_1A2B3C",
              "amount": 2000,
              "currency": "usd",
              "status": "succeeded"
            }

+ Response 401 (application/json)

    + Body

            {
              "error": "unauthorized",
              "message": "Missing or invalid API key."
            }
Paste this into the left pane of the Apidoke editor. Within a second the right pane shows a rendered navigation entry called Charges, a POST /charges block with the request schema, and two collapsible response panels labeled 201 and 401. The try-it console appears on the right column of the published view.
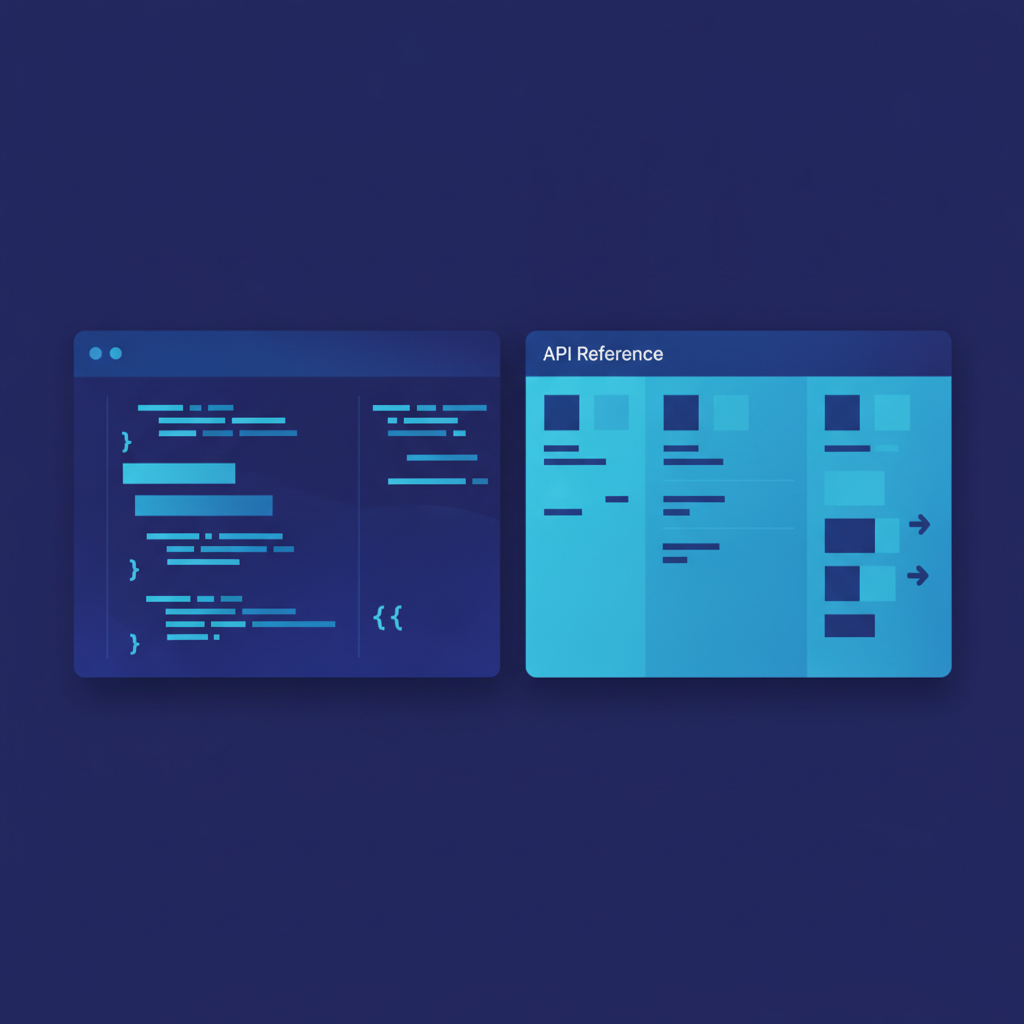
Understanding the three-column published view
When you publish, visitors see three panes side by side:
- Navigation (left). Auto-generated from your
# Groupand resource headings. Clicking a group expands its endpoints. This mirrors the structure of your Blueprint file, so good grouping in the source translates directly into a clean navigation hierarchy. - Content (center). The human-readable description, request parameters, and response schema for the selected endpoint. Markdown in your Blueprint renders as formatted prose here.
- Try-it console (right). A live HTTP client. Consumers fill in their base URL, any path parameters, headers (including
Authorization), and a request body, then click Send. The console fires the request directly from their browser to your API server. The response status code, headers, and body appear inline. Because the request originates in the visitor's browser, any credentials they enter never pass through Apidoke's infrastructure.
How API Blueprint syntax maps to the published output
| Blueprint construct | What it produces in the viewer | Example |
|---|---|---|
# Group <name> | Top-level navigation section | # Group Charges |
## <Name> [/path] | Resource listed under its group | ## Charge Collection [/charges] |
### <Action> [METHOD] | HTTP action block with method badge | ### Create a Charge [POST] |
+ Request (media-type) | Request body panel in content pane and try-it console | + Request (application/json) |
+ Response <code> (media-type) | Collapsible response panel labeled with the status code | + Response 200 (application/json) |
| Markdown prose above a resource | Formatted description in the content pane | Any paragraph text |
The official API Blueprint specification defines every construct in full. For most REST APIs you will only need the six rows above.
Using the try-it console effectively
The console is the part of your docs that turns a static reference into a hands-on experience for API consumers. A few practices make it more useful:
- Document every response code you actually return. If your API returns
404when a resource does not exist and422when validation fails, add both as+ Responseblocks. The console shows the real response code it receives, and developers expect to cross-reference it against the documented possibilities. - Include realistic example values. A request body with
"amount": 1teaches nothing. Use values that look real:2000for two dollars in cents, a plausible ISO currency code, a readable description string. - Describe required headers. If your API requires an
Authorization: Bearer <token>header, note that in the action description. The try-it console has a header input; consumers need to know what to put there.
According to MDN's HTTP response status code reference, a 401 Unauthorized response specifically signals missing or invalid authentication credentials, while 403 Forbidden signals that authentication succeeded but the caller lacks permission. Documenting both codes separately, with distinct example response bodies, prevents a common source of integration confusion.
Version history: why it matters from day one
Most teams do not think about API doc versioning until something breaks. Apidoke saves a snapshot of your Blueprint file on every save, visible in the project's version history panel. This means:
- You can see exactly what the docs said before a breaking change went out.
- You can restore a previous version if an edit introduced an error without needing git blame or a separate backup tool.
- Reviewers can compare two versions side by side to audit what changed between releases.
Version history is available for every project from the moment you create it. You do not need to configure it. For a broader look at how versioning fits into a mature documentation strategy, see our guide on how to write API documentation.
Self-hosting: what it means in practice
Apidoke is self-hostable. That means you can run the entire platform on your own infrastructure if your organization requires it, keeping the Blueprint source files and the published viewer on servers you control. The self-hosted instance behaves identically to the cloud version: same editor, same three-column viewer, same try-it console, same version history. The choice between cloud and self-hosted does not affect the authoring experience described in this guide.
Common mistakes when publishing your first API doc
Indentation is the most frequent source of parse errors in API Blueprint. The + Body keyword must be indented under + Request or + Response, and the JSON body must be indented one level further still (typically eight spaces or two tabs from the margin). If the live preview shows a blank response panel, check your indentation first.
The second common mistake is omitting the HOST directive at the top of the file. Without it, the try-it console has no base URL to use and consumers must enter the full URL manually for every request. One line, HOST: https://api.yourservice.com, fixes this.

Frequently asked questions
Do I need to know Markdown to publish API docs with Apidoke?
Basic Markdown familiarity helps because API Blueprint is Markdown-based, but you only need to learn a small set of constructs: headings, bullet lists for + Request and + Response keywords, and indented code blocks for JSON bodies. The live preview in the editor shows you the result immediately, so you learn by seeing.
How long does it take to publish a first API reference?
For a single endpoint, under ten minutes from a blank editor to a live public URL is realistic. A complete reference covering ten to twenty endpoints typically takes an afternoon if you already have the API behaviour documented internally somewhere.
Can API consumers try my endpoints without an account?
Yes. The published URL is publicly accessible and the try-it console works for any visitor without them needing an Apidoke account. They enter their own API credentials directly in the console; those credentials stay in their browser and are never stored or transmitted through Apidoke.
What happens to my docs if I update the Blueprint file?
The published URL always reflects the most recently published version of your Blueprint. If you save edits but do not re-publish, the public URL continues to show the last published state. The version history panel keeps every saved snapshot so you can compare or restore any previous version.
Is there a limit on how many projects I can publish?
Check the Apidoke pricing page for current plan details. The free tier lets you get started without a credit card, and you can find specifics about project limits on that page.
Ready to publish your first interactive API reference? Create your free Apidoke account and have a live doc URL in your hands before your next standup.
Related reading: Self-Hosting Your API Documentation
Related reading: How to Document a REST API: A Step-by-Step Tutorial